![]()
|
|
|
|
|
|
|
|
|
|
|
|
|
|
|
|
|
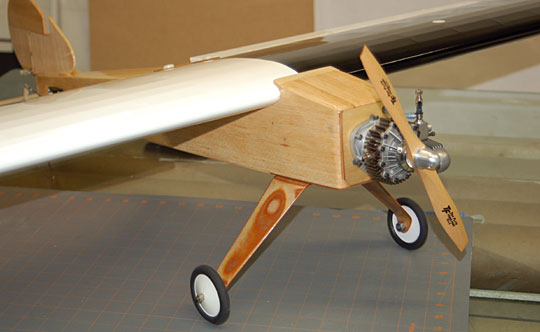
My Stik 30 has been a simple model from its inception. The model flew well but had some teething pains. Over the years since I've built the model I've made various tweaks and modifications to it. A lot of its history is detailed in the My Stik 30 article but the article tends to ramble and the chronology is hard to follow so I'll recap here as briefly as possible. The model was originally designed to fly using my OS Wankel 30 Rotary glow engine. I thought a small Stik model would be a good showcase for the engine. I made provisions to use other engines hoping that the Wankel would be a good, reliable engine and the only engine the model would ever need. Unfortunately, the Wankel used so much fuel that I installed a Webra Speed .32 almost immediately. I could never get the Webra to run properly. The idle was simply too rich — even when the idle needle was turned all the way in. I could have been using the wrong fuel or who knows what. A week to the day after the plane was completed I was shooting touch-and-goes and rolled a wing tip into the ground at high speed. The plane cart-wheeled across the field. The fuselage was destroyed but the wing survived with very minor damage. When I built the new fuselage I didn't care for my engine choices: an old, worn OS .28, several worn .40 size engines and a brand new OS .46 FX which was what I chose. Any good .19 - .30 engine would be plenty of power for the model.
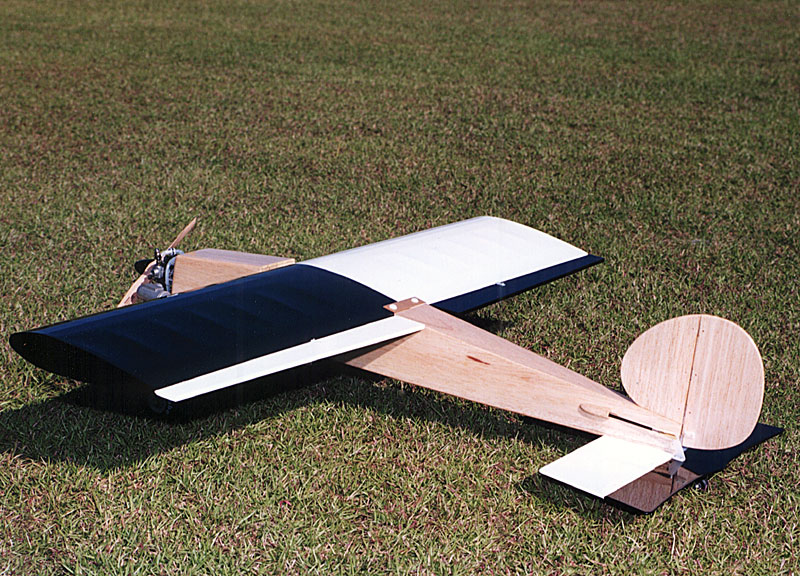
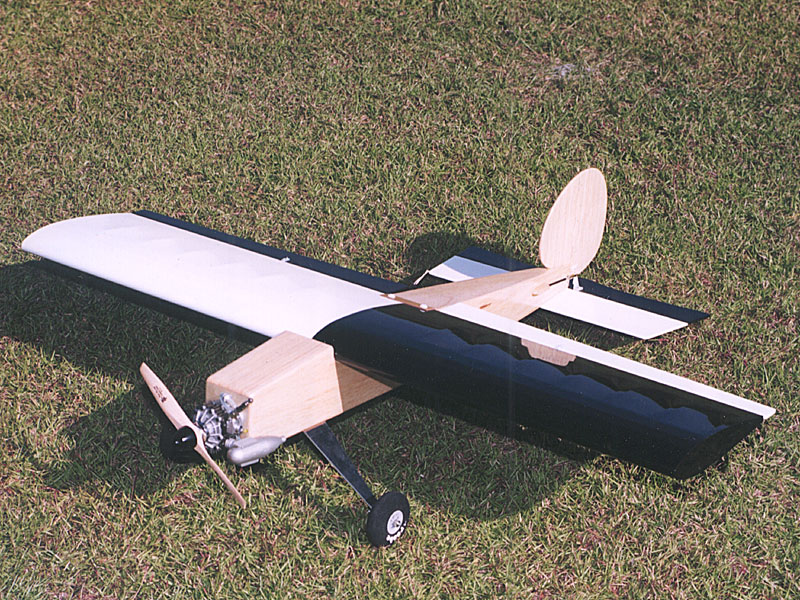
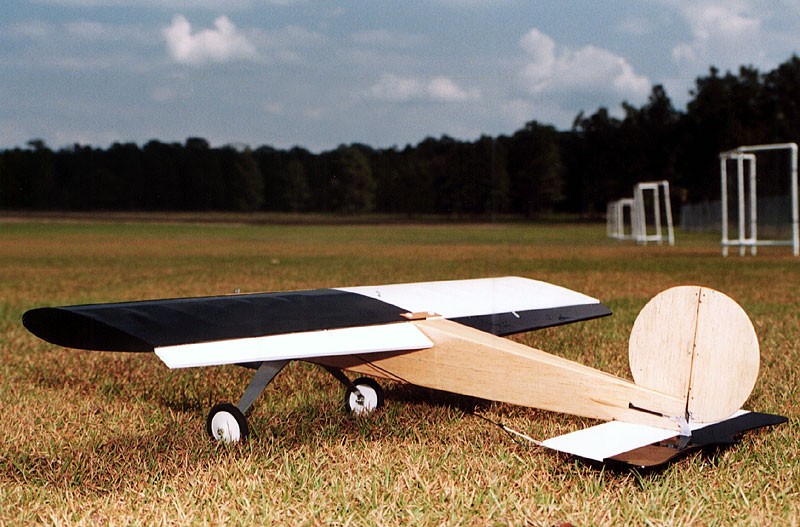
The .46 was way more power than the model needed but the structure handled it just fine. The downside was that I added about 6-8 ounces of lead to the tail to balance the model. That kind of weight at the extreme ends of a model aircraft creates very bad inertia. The overall weight gain was fairly significant and other than screaming straight up at an ungodly rate of climb, the model wasn't much fun to fly once I got over the screaming straight up part. I put the wankel back on, chiseled out a bunch of lead, replaced some servos with lighter ones and in general lowered the weight by a lot. The model was flying very nicely again. And that's the state the model was in when I began this rebuild. The only really serious design flaw is that the model can't balance properly with a .30 class engine due to the long nose. When I took the .46 off the model and chiseled out the lead I also built a plywood hatch in the aft fuselage to mount the onboard battery. But then I was back to weight in the tail again and the battery was much larger than necessary to achieve balance. So my primary goal is to correct the moments (shorten the nose) which will also reduce the overall weight. If successful the model will fly much better than it does now. What actually motivated me to do this rebuild was that the model was getting really ugly in ways I really don't like. Uglinesses
I would also like to update the wing — particularly the color scheme but it may be a while before that happens. First, I want to make sure the primary modifications will make the plane better without giving myself unnecessary work to do. Second, if the plane does fly as well as I think it's going to I'll want to fly it for a while before I ground it for as long as it will take to modify the wing. I don't plan to rebuild the wing as I did with the fuselage because it has nothing wrong with it. What I will probably do is add wing tips and scallop the ailerons. I'm mulling over various finishes and color schemes trying to decide what will look good with the rebuilt fuselage and tail. Getting startedThis series of articles will proceed more or less with each portion of the model that was rebuilt from the beginning through completion of that particular portion. The model was straight as built. I didn't want to do anything that might make it crooked. I took a methodical approach to removing parts and replacing them rather than removing everything at once. For example, all the decks on the model were replaced. But I removed only one deck at a time and built the new deck before removing and replacing the next deck. Before doing anything else I removed all the equipment from the model, cut off the tail and sanded the fiberglass finish from the fuselage sides back down to bare wood using 60 grit sandpaper. In this series
|
|
|
|
|
|
|
|
|
Copyright © 2006 Paul K. Johnson
|
|
||||||||||||||||||||||||||||||||||||||||||||