 |
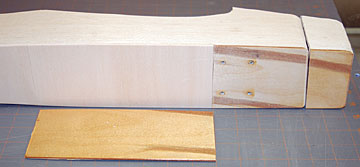
I removed all the lower
balsa wood decking and a huge chunk of
plywood. The forward plywood is for the landing gear mount but is a
fraction of what was originally used. Lots of weight savings here. |
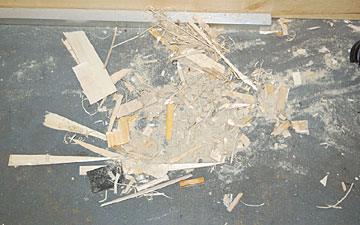 |
After the lower decking was replaced I trimmed off the
upper rear decking and sanded the top of the fuselage to remove remnants
of wood and
glue. New decking was added and the fuselage was almost
like new. This is all the excess crap that was chipped, trimmed
and sanded away. I sanded off all the
fiberglass back down to bare wood. There was no point in trying
to save the
finish.
The sides were made from 3/16" balsa which was also over-kill.
I used 60 grit
sandpaper to remove the finish and a lot of wood.
Overall I expect several ounces of weight reduction and that doesn't
count not having to add tail weight.
|
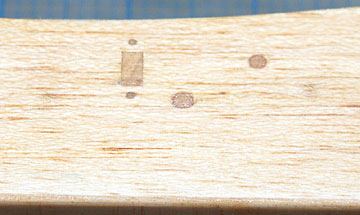 |
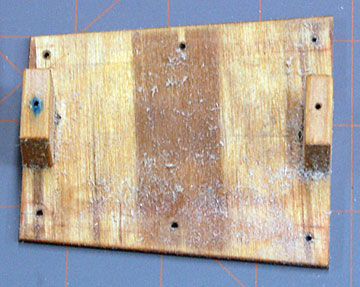
The radio switch charge jack and antenna exit are in
different locations now. The holes were filled with balsa.
The fuselage was fiberglassed before this photo was taken so what you see now will always be
visible. |
 |
The aft
battery hatch
was necessary to balance the aircraft. The hatch itself added a few
ounces of weight and the over-size battery needed added even more.
This is an item I wanted to get rid of during the rebuild. Shortening
the nose allowed me to move the battery back into the radio compartment
under the wing.
The
plywood hatch
looked decent when I finished it but
it's obviously an after-thought since I couldn't sand it at the same time
the model was built which was at least a year earlier.
There are hardwood blocks in the fuselage that receive the hatch mounting
screws. These
blocks were also removed. While I was at it I removed the last of the
lead shot that I couldn't get out before. There was still about 1/2
ounce of lead in the tail. It's all gone now. |
 |
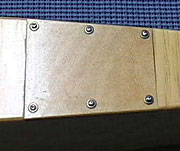
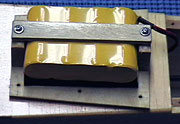 This is the hatch that the onboard battery was attached to.
Even though I fuel-proofed it inside and out with
epoxy,
fuel still managed
to find its way into the wood. This is the hatch that the onboard battery was attached to.
Even though I fuel-proofed it inside and out with
epoxy,
fuel still managed
to find its way into the wood.
The battery has a piece of foam
underneath to protect it from vibration. The wood strap across the top
holds the battery in place. |
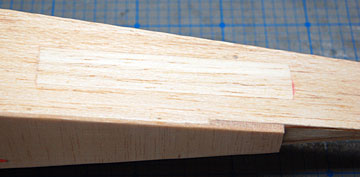 |
The original
pushrods were made from 5/32" carbon fiber tube.
I used a file at an angle to cut away inside the fuselage so the pushrod
hole could be smaller and the pushrod would move more smoothly.
Unfortunately when I sanding the fuselage sides I started sanding through
the wood in those areas so a fairly large piece of balsa was used to fill
the area.
The opposite side of the fuselage was filled with plywood which is the
elevator
servo mount. |
 |
The old rudder extended to the bottom of the fuselage.
This one ends flush with the top of the fuselage. Rather than making
a gaping pushrod exit in the top of the fuselage I decided to go with
pull-pull controls. I used my
pushrod exit drill guide to drill the holes for 1/8" plastic tube.
The tubes are approximately 2" long.
I made
fairings
to cover the exits. |
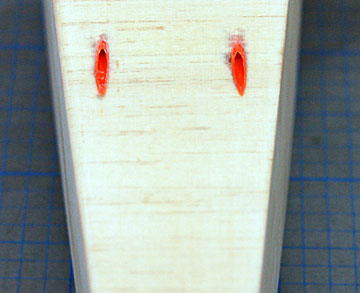 |
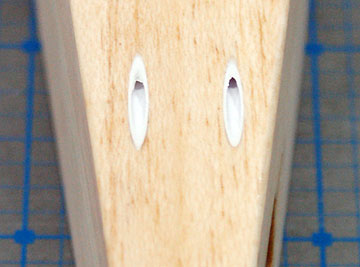
Pull-pull exits on bottom of fuselage for tail wheel
steering. I plan to use braided SpiderWire for both the pull-pulls
for the rudder and the tail wheel. I will probably
use weaker line for the tail wheel so that it is more likely to break than
strip the gears. I don't plan to use any type of shock-absorbing
system such as springs. |

 Between
the Nose and Tail
Between
the Nose and Tail