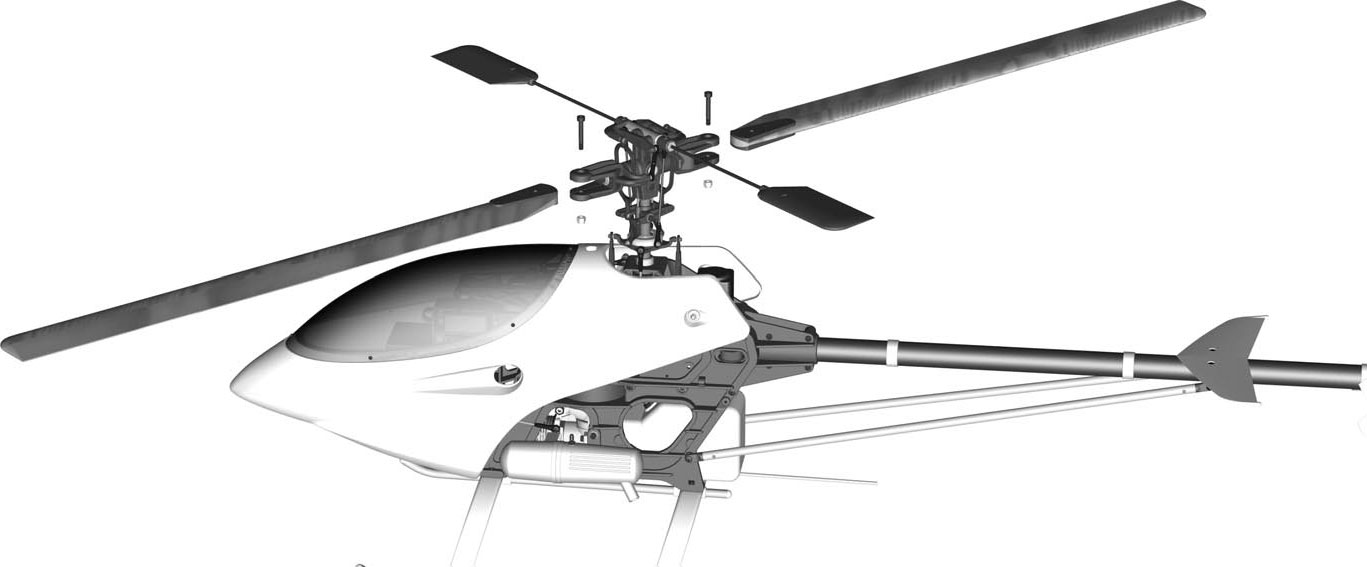
Step Twenty
— Main Rotor Assembly
- These steps are on pages 16 and 35 of the Instruction Manual.
 |
|
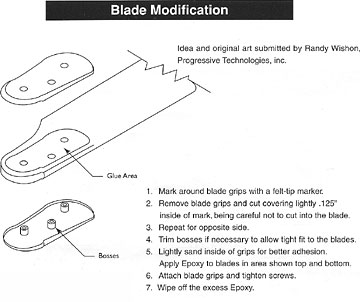 |
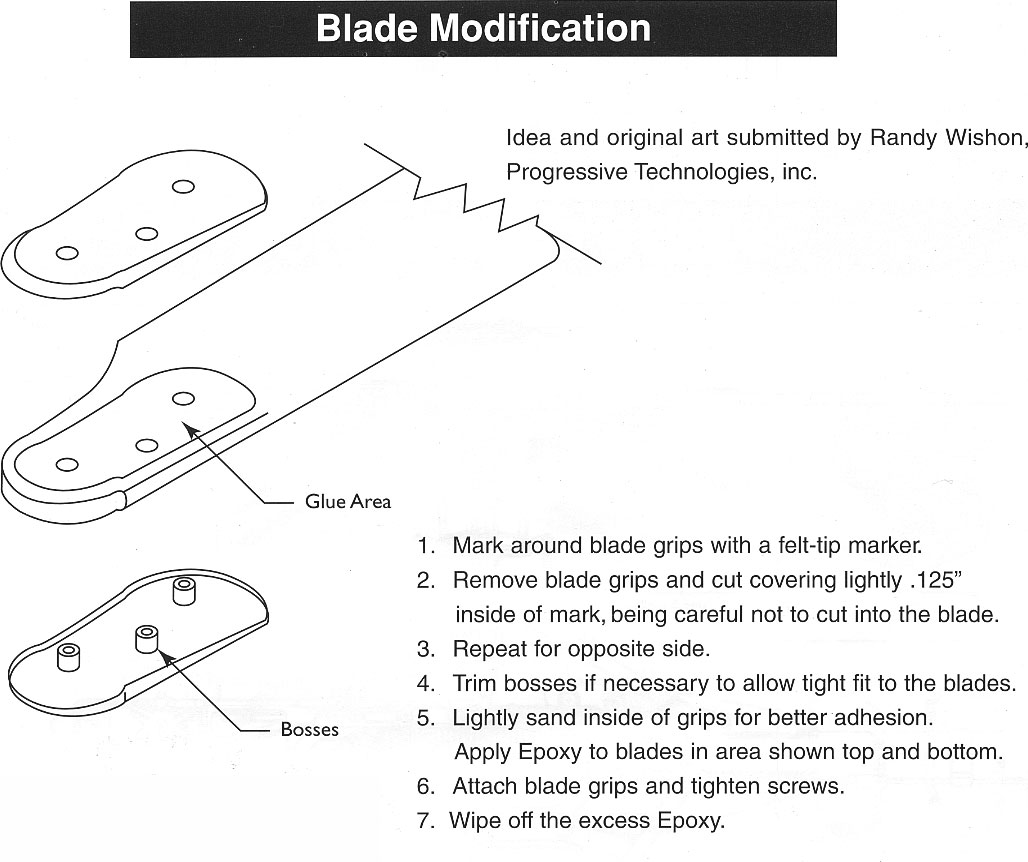
The manual includes a "Blade Modification" page
(Page 35 of the manual). Frankly, I don't think the modification
should be considered a modification which may lead one to believe it is
optional.
The steps in the modification should be considered standard and
required. |
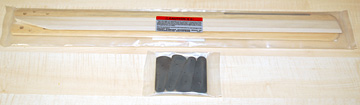 |
Parts bags for this assembly. |
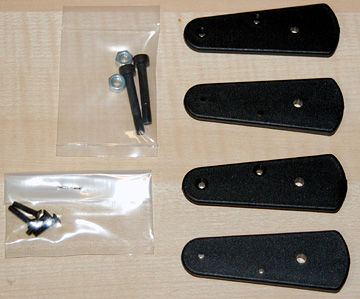 |
Parts for the rotor blade assembly. Blades are not
shown. |
 |
The first thing you should do is use a heat gun to shrink
the blade covering. Start with the gun a good distance from the
blade and keep the gun moving. You simply want to tighten the heat
shrink covering.
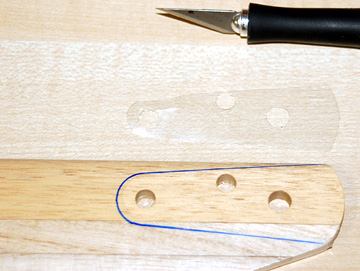
Cut the covering away from the holes in both the top and bottom of each
blade.
Place only one blade grip in the blades at a time. If you insert
both grips you'll have a tough time getting them back out. I had to
use a rubber mallet to fully set the grips. |
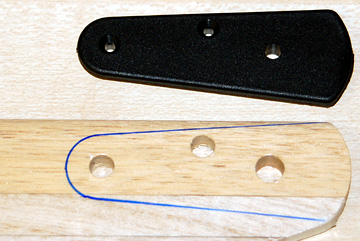 |
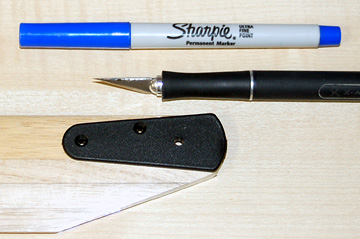
Trace around the grip using a Sharpie marker. Remove
the blade grip and repeat for the other side of the blade. If
they don't come out easily, which they probably won't if you used a mallet
to insert them, use a dowel from the opposite side to force them out. |
 |
Cut away the covering about 1/16" inside the line. |
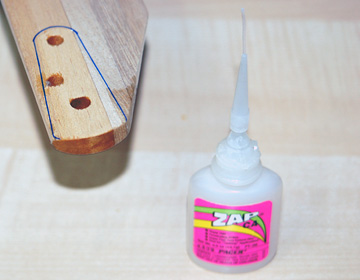 |
Use thin
Cyanoacrylate to soak the holes and the exposed root end of the
blades. Allow the CA to fully cure. |
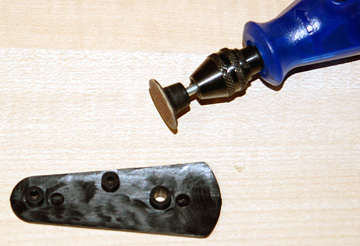 |
Sand the inside of the blade grips to roughen them. I
used a well worn sanding disk at low speed in a
Dremel Mini Mite. If you use a moto tool, work at slow speed
and be very careful. We aren't trying to remove material
— just
roughen the surface for glue.
The safest way to go is to use 80 grit paper by hand. When you finish
sanding, clean the blade grip with alcohol. |
 |
Use a good 30 minute or slower
epoxy to attach the blade grips to the blades. |
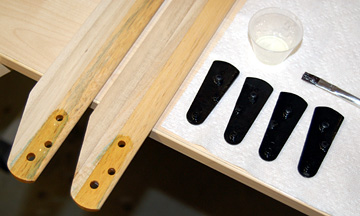 |
Using a flux brush (epoxy brush) spread epoxy on the inside
of the blade grips and the exposed wood of the blades. Be sure
that the epoxy overlaps onto the plastic. It's not a bad idea to get
the exposed root end of the blade while you're at it. |
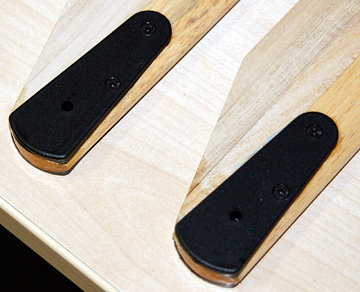 |
Attach the blade grips to the blades and fully seat them.
Insert the self-tapping screws and tighten them. Wipe up excess
epoxy using alcohol on a paper towel. |
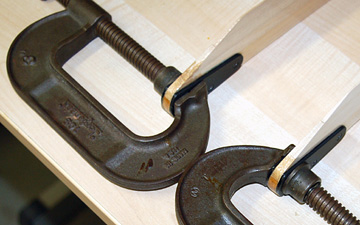 |
Clamp the blade grips until the epoxy has fully cured. |
 |
Insert a lock nut into the recess in the underside of each
main rotor pitch housing. Insert the rotor blades such that they
turn clockwise when viewed from above.
Insert the socket screw and tighten the blades. They should be
fairly tight - just loose enough that it takes some effort to reposition
the blades. If you leave these bolts too loose you're asking for a
tail boom strike which is not only expensive but it also means you'll lose
a lot of trim settings when you make new linkages. |
The helicopter is now fully assembled except we still haven't attached
the muffler or fuel lines. Attach the muffler and fuel lines.
Now the helicopter is fully assembled.
If you haven't done it already, turn on the radio and move the sticks
around and watch all the linkages and levers on your heli move. Ensure
everything is moving the in proper direction. Do this until you get
bored. You may get some rest now.
That was the easy part. The next step is to spend hours and hours
balancing, adjusting and tweaking before you should even consider flying the
beast.
If you don't know what you're doing then I strongly encourage you to seek
qualified assistance. If you choose to ignore this advice then
whatever you do, don't start the engine anywhere near people. Spinning
rotor blades are extremely dangerous and have killed and maimed a lot of
people. As far as R/C vehicles go, there is none more dangerous than
an out-of-control helicopter.
If you get some help from a live person who knows what he's doing, your
helicopter will be set up better, you'll advance faster and the whole
experience will be more fun and rewarding (not to mention less expensive)
for you. |