|
|
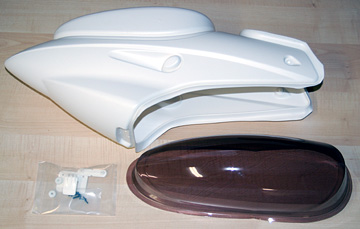 |
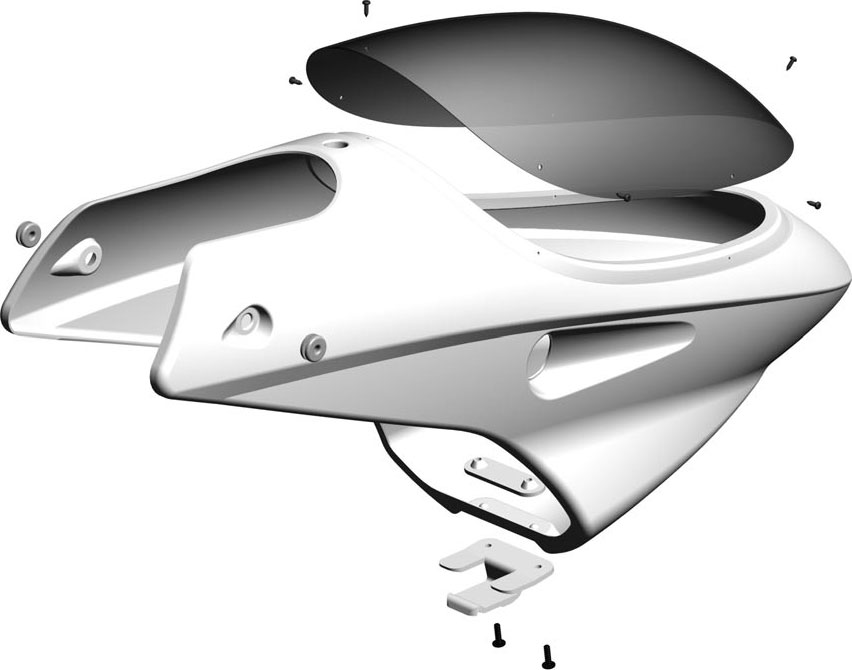
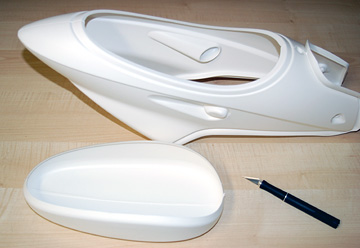
Parts for the body/canopy assembly. |
 |
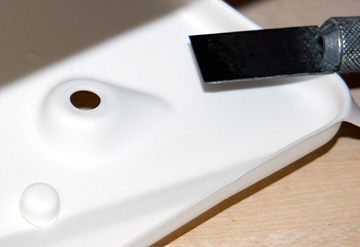
There is a deep "V" molded into the body. Use
a sharp
X-Acto knife to cut the excess from the body. Several light
cuts work better than trying to cut all the way through in one shot.
Save the excess for testing paint if you plan to paint the body.
The plastic is bleach bottle material that a lot of paints won't adhere
to.
I've read that primer for rubber car bumpers works, but I'm going to
test before trying it on the actual body.
It's not just if the primer sticks but also if the paint I use is
compatible with the primer. |
 |
Cut the nubs from the inside rear of the canopy where the
grommets will be mounted. Use a fine file or fine
sandpaper around a dowel to smooth the edge. Be sure to sand
all edges of the body for neatness and to help prevent it from cutting
anything that may rub against it. |
 |
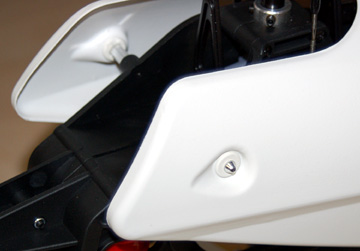
Grease the inside and outside of the rubber grommets
using non-petroleum grease. Insert them into the body. Open the air inlet holes
on each side. The only way to the receiver switch is through the air inlet on
the right side of the body. |
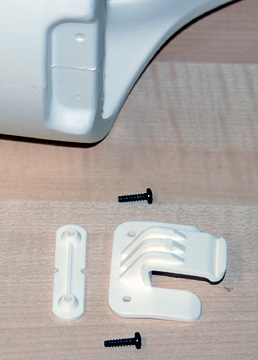 |
Body Clip A (right) and B (left) with hardware. |
 |
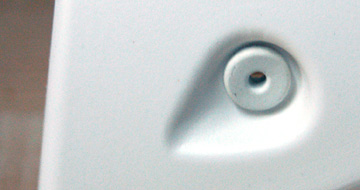
Use an awl or a small drill bit to open the dimples on the
bottom of the body. Use the two self-tapping screws to thread
body clip A on the outside of the body. |
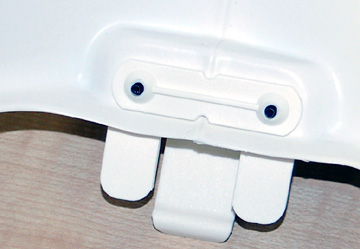 |
Place body clip B inside the body and tighten the screws.
Just snug is good. Don't strip the plastic. |
 |
|
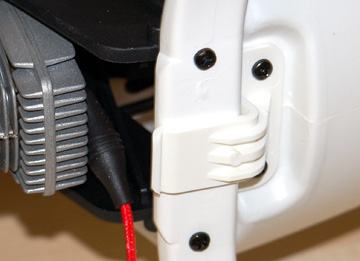 |
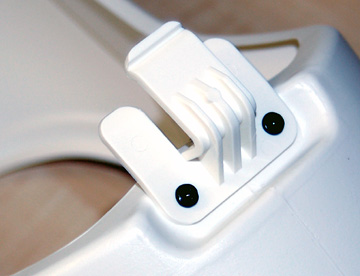
The clip slides over the front landing gear. |
 |
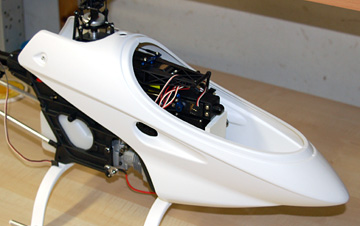
Spread the body in the rear and push the grommets over the
posts. Greasing the grommets makes it easier. Once you run
the engine a time or two the whole heli will be nice and oily and the body
can be removed and replaced easily. |
 |
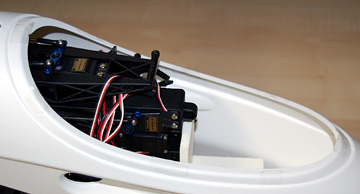
It's easiest to mount the canopy to the body with
body mounted to the heli, so just leave it in place. |
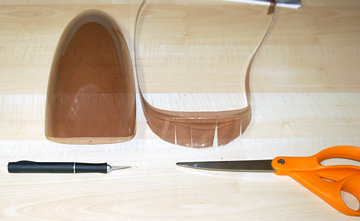 |
The canopy is a little more difficult to trim because it
has a fine molded line. I worked seated under good light.
Trim away most of the excess plastic using a scissor.
Score the plastic along the line by making several
passes with an X-Acto.
Cut reliefs at the front and back of the plastic. Flex the
plastic to break it free where you scored it.
Finally, use a
sanding block with fine paper to finish the edge. |
 |
Apply several pieces of double-sided cellophane tape to the
body where the canopy will mount. |
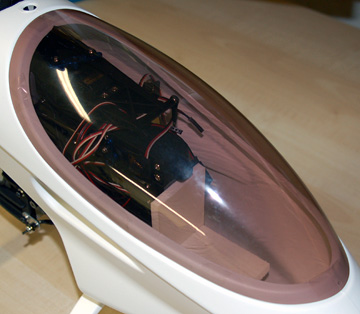 |
Place the canopy on body and align it. Press it
against the tape. |
 |
Use an awl to punch through the dimples in the canopy or
drill with a small (1/16" or smaller) bit. I used a 1/32" drill
bit. Thread the self tapping screws in place.
Remove the canopy, remove the tape and replace the canopy.
Decorate to your heart's content. |