Building
the
Thunder Tiger Raptor 30 V2 Helicopter — Step Seven
Step Seven
— Main Frame Assembly - Part 3
This step is on page 9 of the Instruction Manual.
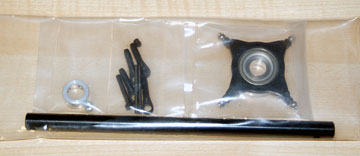
The parts bag for this assembly.
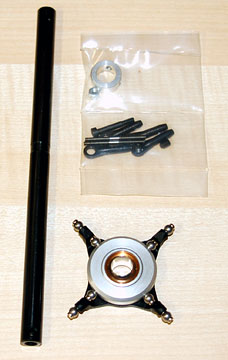
Parts for Step 3 of the Main Frame Assembly.
The Main Shaft.
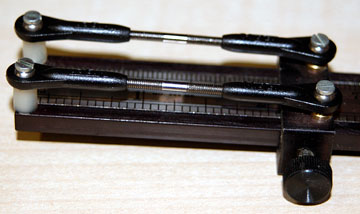
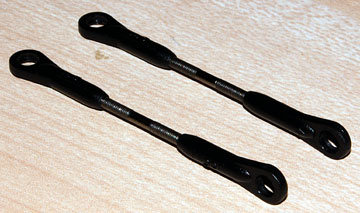
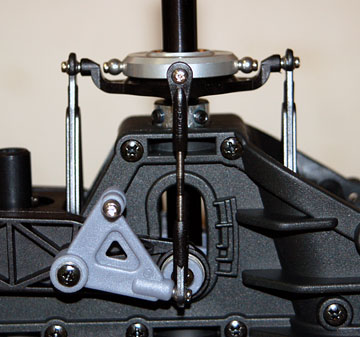
The aileron linkages should be 58 mm from center to center
of the ball links.
The completed aileron linkages.
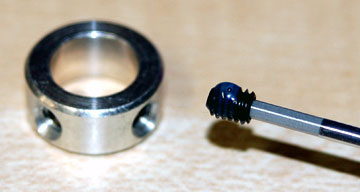
Use Loctite on the two set screws for the Main
Shaft Lock Ring.
Thread the set screws in just a couple turns.
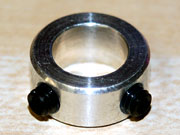
The lock ring slides down to groove cut into the main
shaft. When the set screws are tightened the ring will not be able
to slide because the groove in the shaft captures the set screws.
When the collar is in the proper position, lightly snug the set screws.
The collar will be repositioned later.
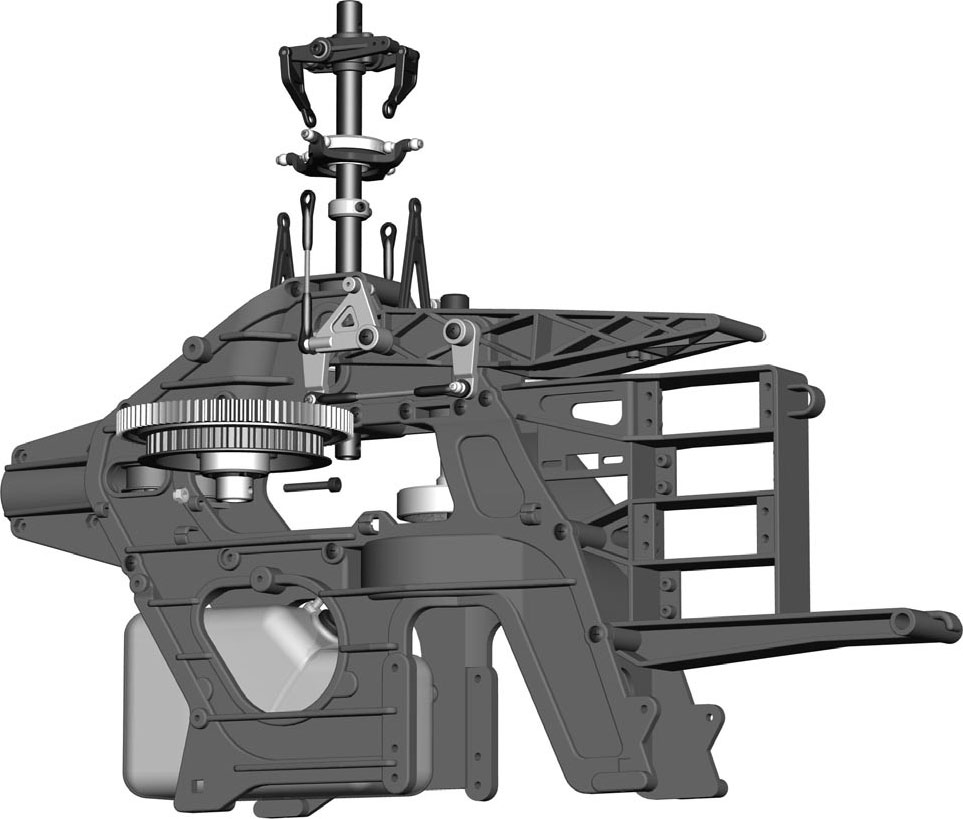
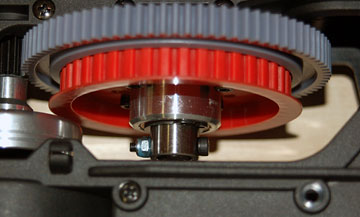
Insert the Main Drive Gear Assembly from
Step 4 inside the frame.
Slide the main shaft into the frame from the top through the two
bearings inside the frame.
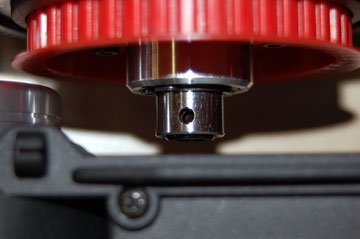
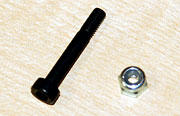
The socket bolt and lock nut that holds the main shaft to
the helicopter. If you remove this bolt more than a couple times
then replace the lock nut since it will be too loose to lock any more.
This bolt is the only thing keeping the main shaft from flying out of the
heli, so obviously it's kind of important.
Line up the hole in the main gear assembly with the hole in
the main shaft.
Insert the bolt and tighten the locknut.
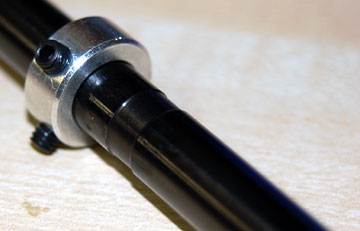
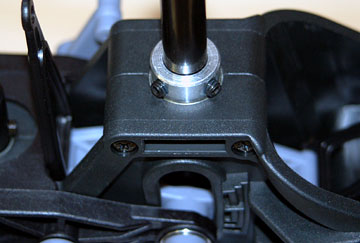
Loosen the set screws in the collar. Push the main
shaft up and the collar down. Tighten the set screws securely.
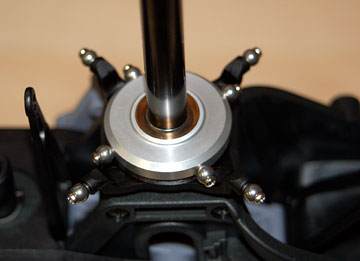
Slide the swashplate on the main shaft.
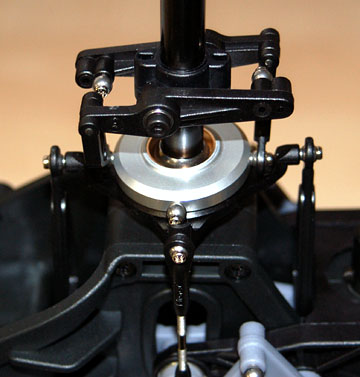
Connect the elevator and aileron links to the swashplate.
Another view of the linkages connected to the swashplate.
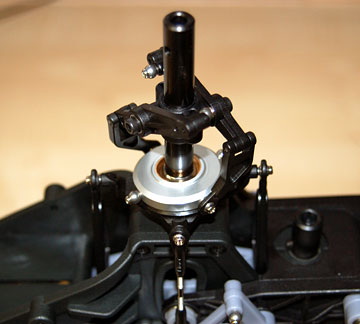
Slide the washout assembly from
Step 5 onto the main shaft.
Connect the linkages from the washout assembly to the
swashplate.