Building
the
Thunder Tiger Raptor 30 V2 Helicopter — Step Five
Step Five
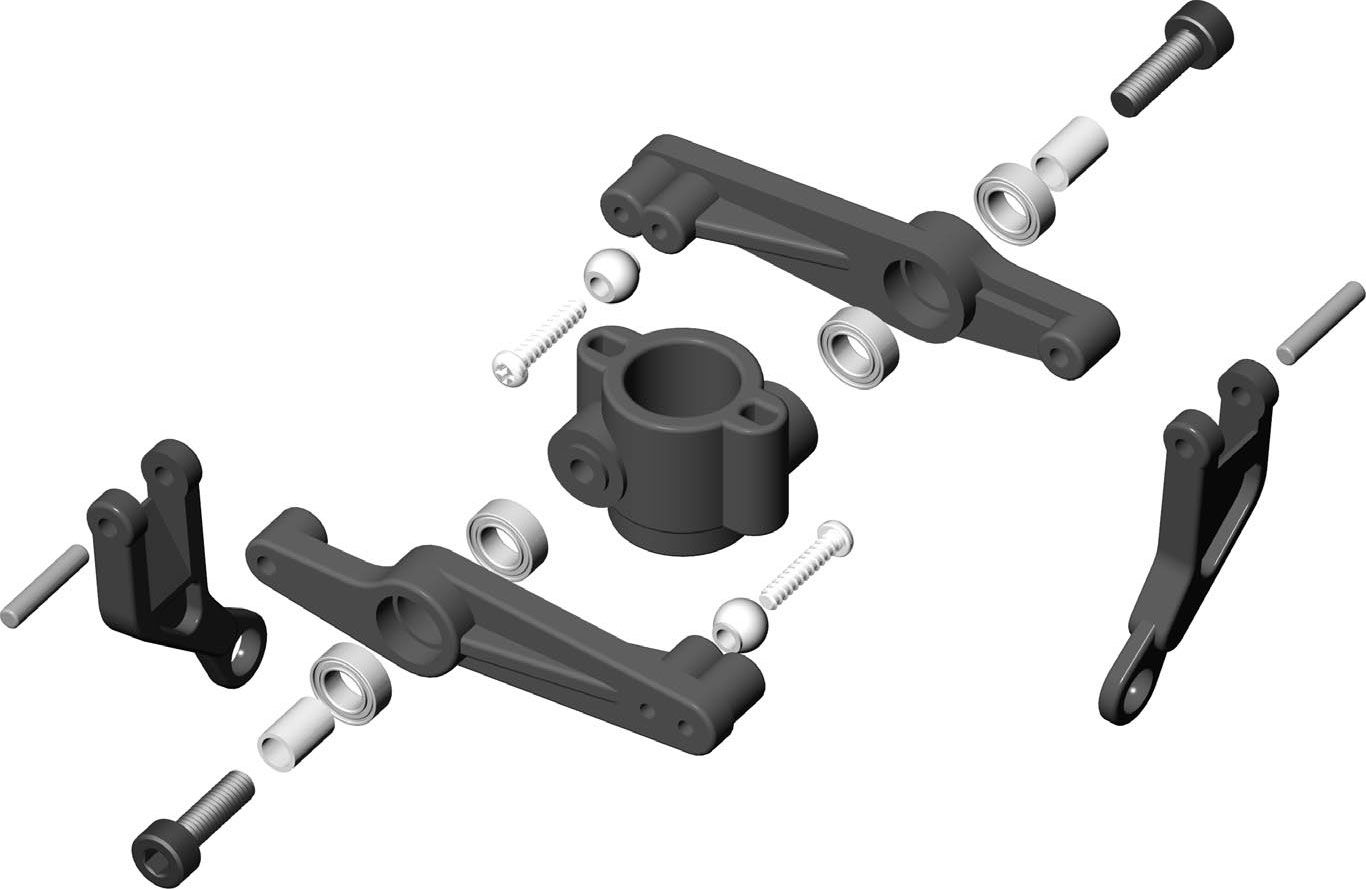
— Washout Assembly
This step is on page 7 of the Instruction Manual.
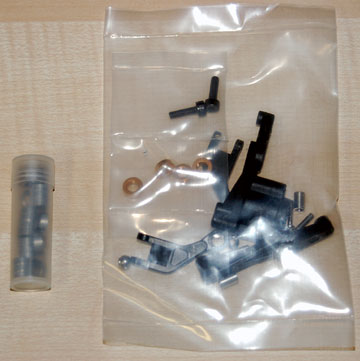
The parts bag needed for this assembly.
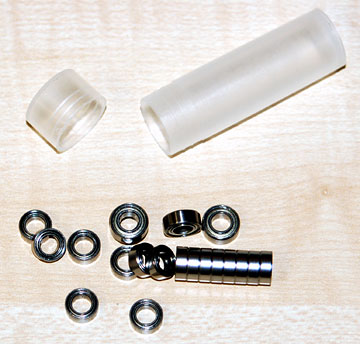
I
purchased the kit with 29 bearings and purchased the 20 bearing upgrade
separately. I don't remember why I did that instead of buying the 49
bearing kit, but I think it was less expensive to do it this way.
If you buy your kit the same way then you can put all the bronze
bushings from the kit with your spare parts. You won't use any of
them in this heli.
This is what you get for your $18.00.
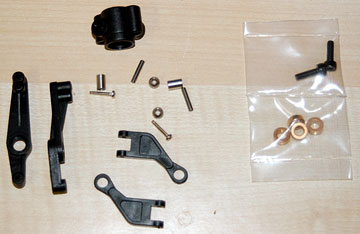
Parts for the washout assembly.
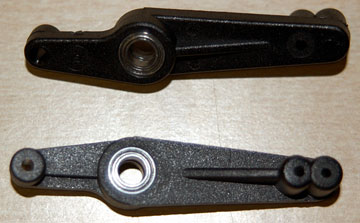
Press a bearing into each side of each flybar control
lever.
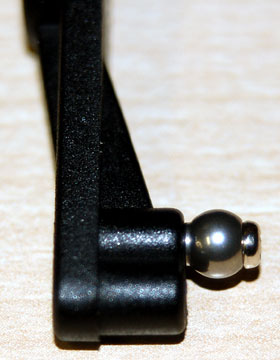
The flybar control lever has two holes at one end.
Use one of the M2 x 10 self-tapping screws to attach a ball to the inside
hole.
Note that the balls have a shoulder on one side. Throughout this
build the shoulder will be on the opposite side of the screw head such
that it spaces the ball slightly away from whatever it is bolted to.
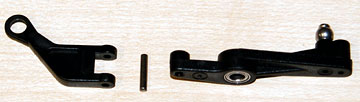
The flybar control linkages are attached the flybar
control levers using a press-fit shaft.
Note that the link side
of the linkage is on the same side as the ball on the lever.
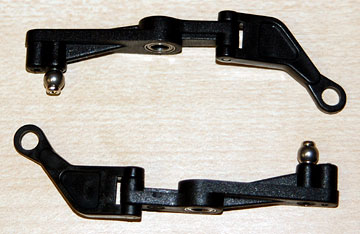
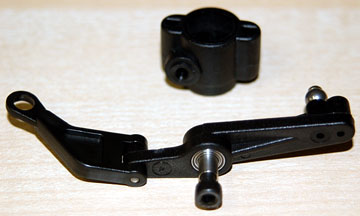
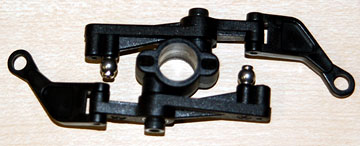
The assembled flybar control levers and linkages.
Place a collar inside the bearings of the lever
assembly and bolt it to the washout base.