Building
the
Thunder Tiger Raptor 30 V2 Helicopter — Step
Fourteen
Step Fourteen
— Tail Boom Assembly
This step is on page 13 of the Instruction Manual.
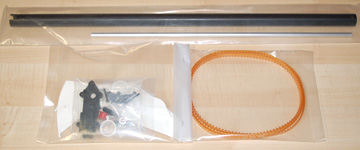
Parts bags for this assembly.
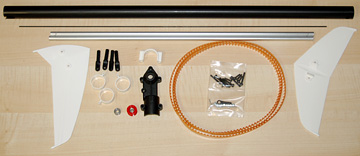
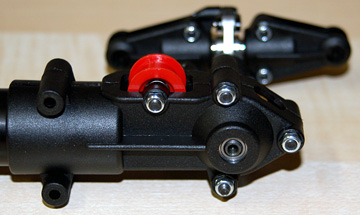
Parts for the tail boom assembly.
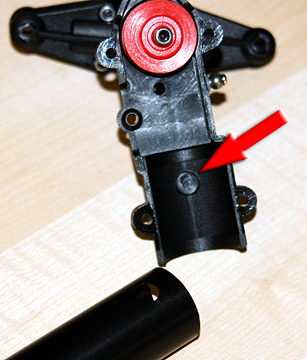
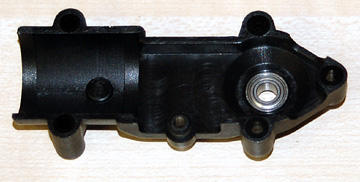
The tail unit housing has a plastic pin molded in that
engages a hole in the tail boom.
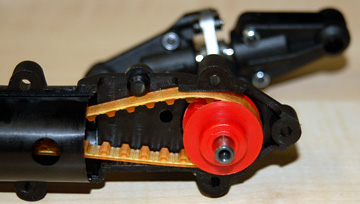
Feed the tail rotor drive belt into the tail boom
before adding the tail unit assembly.
Sight down the tube to make
sure the belt isn't twisted.
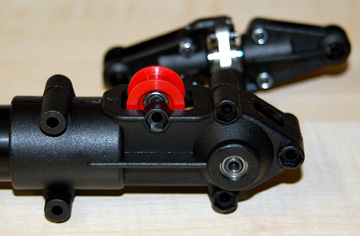
Add the tail unit assembly and place the belt over the tail pulley.
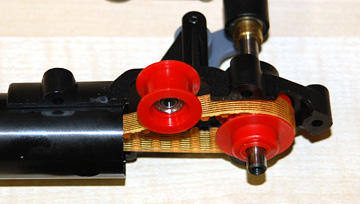
Add the tail idle pulley.
Insert the bearing into the left tail unit
housing.
Place the left tail unit housing on the tail boom.
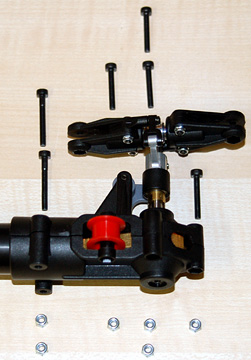
Hardware to attach the tail unit housings to the
tail boom.
Note that the two left-most bolts are
longer than the other four. The vertical fin is attached by
the two longer bolts.
Press four lock nuts into the recesses in the left tail
unit housing. Use the four shorter hex bolts to bolt the tail
housing together on the tail boom.
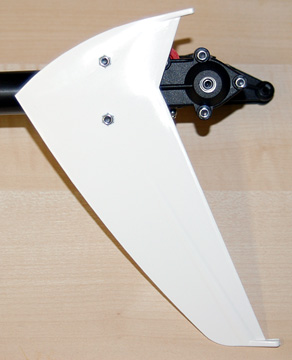
Press two lock nuts into the fin and bolt it to the tail
unit housing using the two longer hex bolts.
If you plan to use
the included decals they are easiest to apply before the fin is attached.
The same is true for the stabilizer fin.
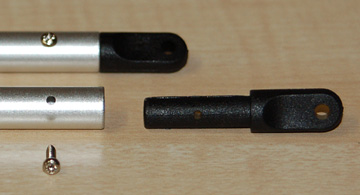
Insert the four tail support rod ends into the two
tail support rods. Use the self-tapping screws to
secure them.
I suggest that you do not glue these
into the rods as it isn't necessary. If you use CA and the glue sets
up before you get them inserted in the proper position you'll have a
problem.
At this point the instructions indicate the stabilizer fin should be
attached to the tail boom along with the two tail support rods. The
rods will be in the way so we're going to add them later.