|
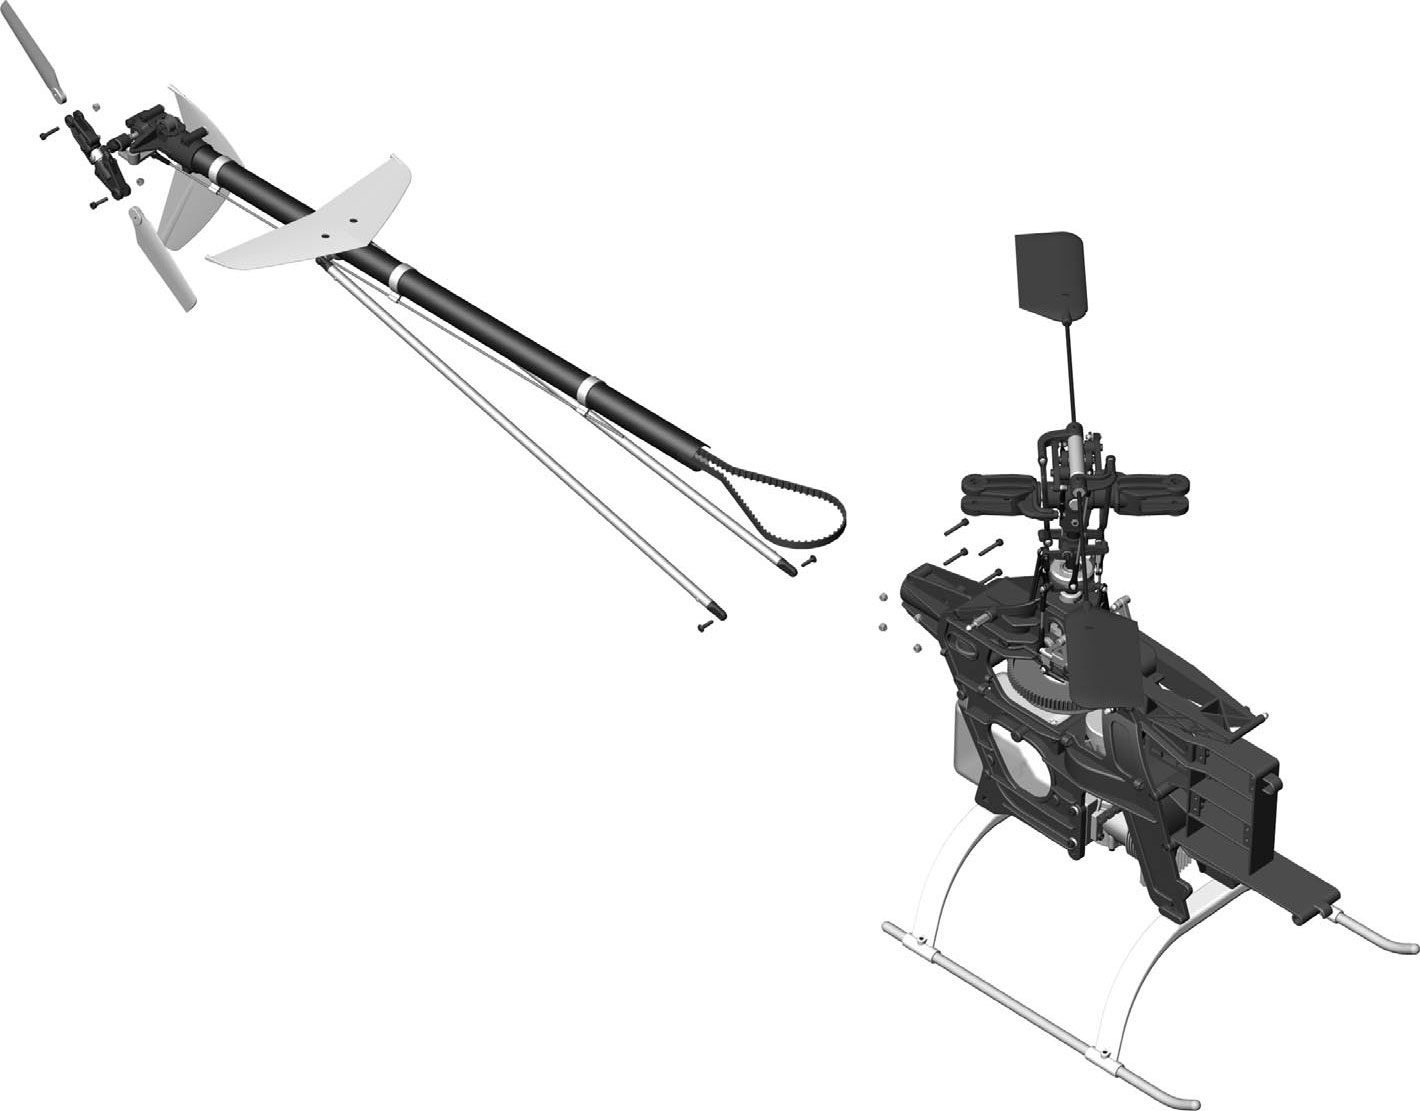
It's time to attach the tail boom to the main frame.
There are two things that can go wrong here:
- Tail drive belt is turned the wrong way which spins the tail rotor in
the wrong direction.
- Tail drive belt is too loose or too tight.
There is an easy way to ensure the belt is oriented correctly.
Before you attach the tail boom, turn the boom so the right side is down.
That means the tail rotor blades are on the work surface (if you have
attached them) and the boom is above them.
Make sure the belt is not twisted in the boom. The belt should be
horizontal to the work surface.
Hold the end of the belt that goes into the frame to prevent it from
turning. Turn the boom 90° so that it is
oriented properly having the tail rotors on the right side of the
helicopter. |
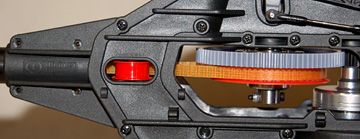 |
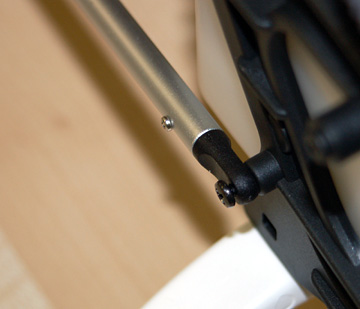
Pull the tail belt drive into the frame while pushing the
tail boom into the frame as far forward as it will go. Place the
belt over the gear on one side. Turn the gear to work the belt onto
it. Viewing the helicopter from above, rotate the rotor head in a
clockwise direction. The tail rotor should turn counter-clockwise
when viewed from the right.
If the tail rotor turns clockwise then the belt is turned the wrong
way. Correct it before moving on. |
 |
Four lock nuts go in these recesses in the right
frame. |
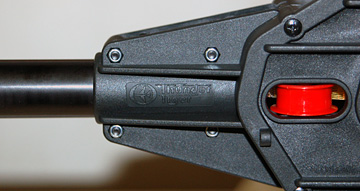 |
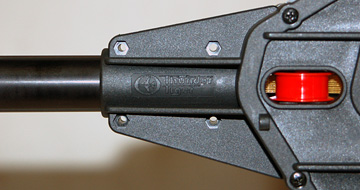
Press the lock nuts into the recesses. Insert the
hex bolts through the other side of the frame. Pull the tail
boom to tauten the belt and tighten the bolts. The instructions
indicate the belt should not be able to be pressed in more than 3/16".
I have no idea how to measure that and took my best guess at how tight the
belt should be. On the first run I could hear a "ting" noise inside
the boom which indicated the belt was too loose and striking the boom.
I loosened the bolts and pulled the boom tighter until the noise went
away. |
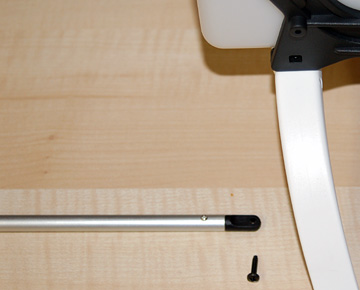 |
Attach the two tail support rods to the main frame
at the bottom near the rear skid. |
 |
Tighten the screws until they are just snug then back them
out about one turn. You want them as tight as you can make them
while still allowing the rods to pivot on the bolts. |
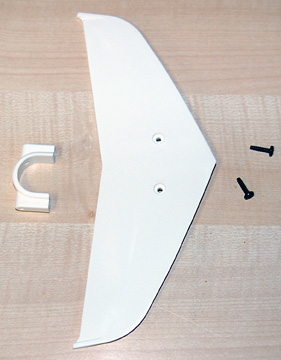 |
The stabilizing fin, stabilizing fin bracket
and self-tapping screws. |
 |
Place the bracket on the boom from underneath. Use
the two self-tapping screws to attach the stabilizing fin to the bracket.
Leave the screws loose for now. Attach the two support rods to
the bracket. Leave these screws loose as well.
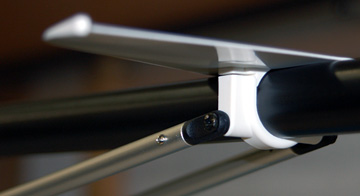
Now tighten all the screws as much as possible while still being able
to adjust everything.
Sight the helicopter from the rear and ensure the fin is horizontal.
When you are satisfied, tighten the screws at both ends of both rods.
Alternate tightening the two screws attaching the fin to bracket.
If you tighten one screw all the way first and then the second screw the
fin will cant toward the side that was tightened first. Go back and
securely tighten the screws holding the support rods to the frame. |
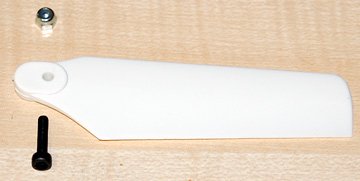 |
The tail rotor blades are attached with hex bolts
and lock nuts. When viewed from the right side of
the helicopter, the tail rotor turns counter-clockwise.
Be sure to mount the blades facing the correct direction. |
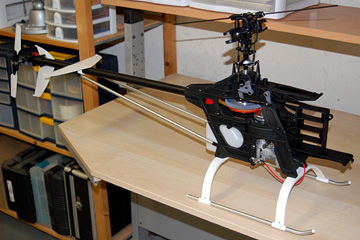 |
It's finally starting to look like a helicopter.
From this point on you should work in a clear area that has enough room to
swing the heli around which is something you'll need to do several times.
If you work in a space like the one shown here you'll quickly become
frustrated by having to duck the tail boom while swinging it over your
head and trying to avoid smacking it into something else.
I ignored my own advice because I was uncomfortable with how smoothly
things were going and I didn't have an excuse to swear all day. |