Tools and Supplies Needed
-
 Excellent ventilation. Excellent ventilation.
Dope is extremely toxic. Imagine having a
big jar of fingernail polish open under your nose for a couple hours.
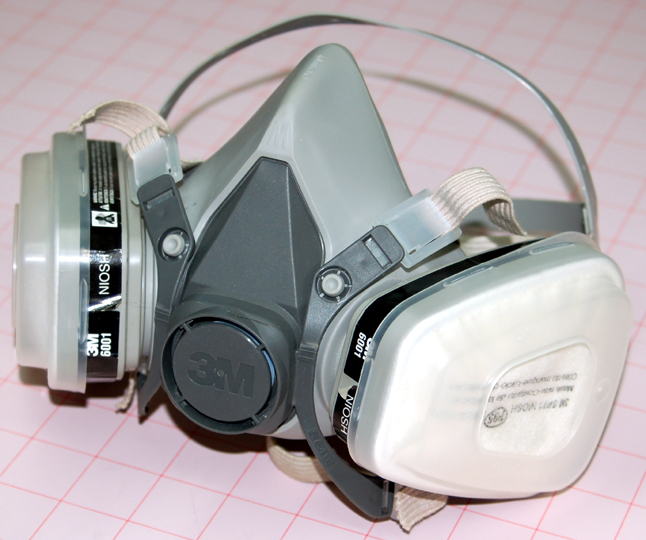
A charcoal mask is a very good idea.
-
Clear Nitrate or Butyrate
dope.
Some people say that nitrate dope has better adhesive qualities than
butyrate. I don't know if that's true or not but I've had no problems
using butyrate for the entire job. Nitrate isn't fuel proof so if your
plane is glow powered then you should use butyrate dope exclusively after
the covering is attached.
Butyrate dope can be applied over nitrate but nitrate can not go over
butyrate. Once you being using butyrate you must continue with it.
-
Dope thinner.
-
A Jar having a lid with a
liner that isn't affected by dope.
Dope solvent is very hot and will eat through
foam or rubber cap liners from food jars. If you can't find a jar
having an appropriate cap then you can always put a piece of aluminum foil
over the jar before screwing on the lid.
-
Flat 1/2" and 1" natural hair
paint brushes or an airbrush with a large nozzle.
-
Acetone for clean up.
-
Paper towels.
-
Sanding block with very fine
paper.
Dope is much too thick as it comes and must be thinned to brush well.
Find a jar with a cap having a liner that the dope won't melt. An 8
ounce jar is large enough to not need constant refills but small enough to
work with.
Fill the jar about 1/3 full of dope. Thin it until it's a
good brushing consistency. I usually start with an equal quantity of thinner
and adjust from there. If it's too thin then add more dope. If
too thick then add more thinner. Don't use retarder in the sealing
coats.
Sealing the Wing
An
airbrush with a large nozzle can be used to apply sealer coats and will
save you a lot of time. It may require several more coats as the coats
will go on thinner than if you brush. A Paasche Type H with the large
tip is perfect for this. Keep in mind that an airbrush is the wrong
tool to dope the overall wing. See the linked page for an explanation.
- Only use natural hair brushes to brush dope. Synthetic brushes
work poorly when applying dopes and lacquers.
-
All sealing coats are brushed on one side of the wing. When the
first side is dry the other side is coated. Three brushed coats are
usually all that
are necessary.
-
Exposed end grain wood should have additional coats added any time you're adding
any other coat. For example, if the wing tip has end grain then coat
it when you coat one side of the wing and then coat it again when you coat the
other side of the wing.
-
Seal any hatch compartments, holes or
anything else water or fuel may be able to work its way into. If your
wing has center section sheeting then it may draw water into the end grain
from the wet silk. Run the brush around exposed end grain and holes
that the silk covers with each coat.
If the wing ribs are not capped or sheeted then doping them (or getting
them wet) will raise the wood grain. What that means is that if you
dope silk over unsealed ribs there will be a lot of ugly bumps under the
silk that are there forever. Be sure to seal the edges of the ribs
well.
 Sand lightly between coats to remove any raised grain and make everything
smooth. Sand as little as possible so that you aren't sanding back
down to bare wood. Sand lightly between coats to remove any raised grain and make everything
smooth. Sand as little as possible so that you aren't sanding back
down to bare wood.
Keep applying thin coats of dope until the grain doesn't raise. Now
apply a heavier coat of dope that is thinned to brushing consistency.
This dope should not be as thin as the dope you've been using up to now.
Sand after this coat. Keep applying these coats until you can sand
without exposing bare wood.
I normally need to brush on two coats of very thin dope and then one or
two coats of normally thinned dope.
Don't get stuck on the number of coats. If you apply thinner coats
than I do you may need more. It's not the number of coats that's
important. It's that the wood is actually sealed and wood grain isn't
raised. If you can't tell if an area is sealed then run a wet finger
over it. If the wood grain raises or the wood feels slightly mushy
then it's not sealed. Allow the wood to dry, sand it lightly and
recoat.
You can apply a final coat if you like. It won't hurt anything and
clear dope weighs practically nothing.
Vacuum the wing when you're satisfied with the sealing coats. If
you have an air compressor then blow out the wing and vacuum it again.
The wing is now ready to silk as soon as its mounted on something that
prevents the wing from moving around and allows the silk to hang straight
down all around the wing. |