 |
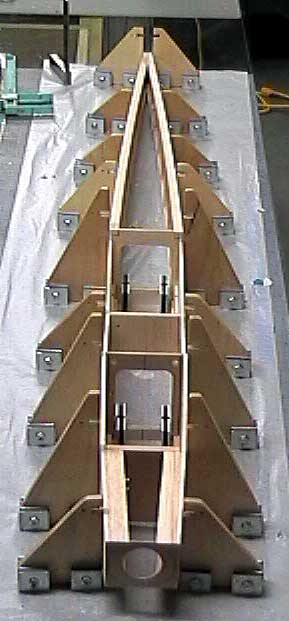
Even with all this
jigging I can guarantee
that the fuselage is not symmetrical. There is nothing between the
rear of the wing saddle and the tail post to ensure the fuselage is
straight, square and symmetrical. I am going to fix that. |
 |
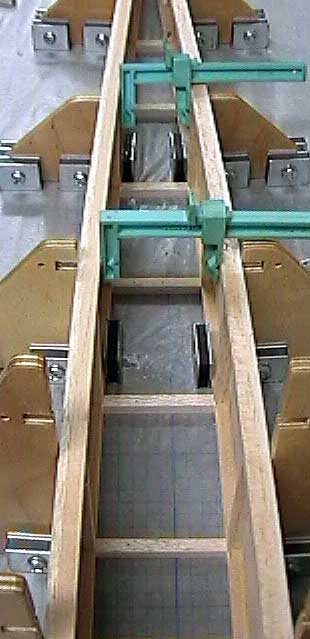
In the next two images all the uprights are
centered around the fuselage centerline. However, you will notice
that fuselage sides are not square against the uprights. I could
just go ahead and glue in cross-braces and add the decking. The
airplane would fly fine. I am not satisfied with that though.
The amount of effort to get the fuselage straight is negligible compared
to the improved trim characteristics of the finished model. |
 |
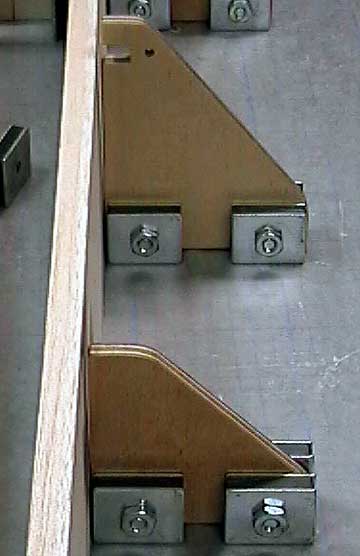
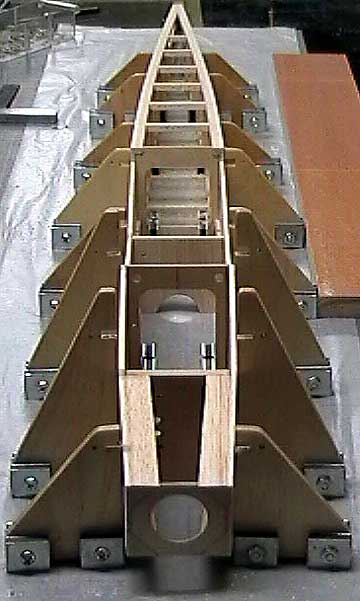
The left side of the fuselage. The
fuselage is not even touching the lower jig. It is hard to tell in
these images, but the gap at the top of the lower jig is over 1/8". |
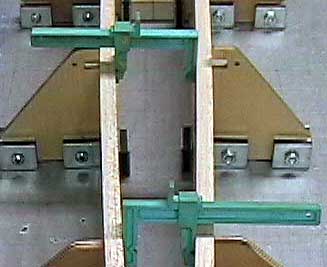 |
The fix is to brace the
fuselage against the jig using whatever means works best. In this
case I am using magnets at the bottom of the fuselage sides and reversible clamps
(X-Acto) at the top of the fuselage to spread it apart and push it
against the jigs.
Now I am confident that the
fuselage is actually straight. The problem is keeping it that way. |
 |
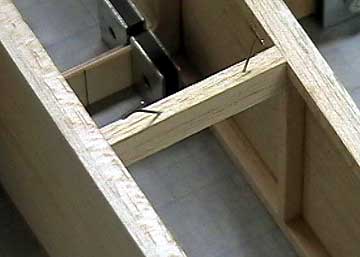
Cross braces will be used to strengthen the
aft end of the fuselage as well as support the decking. Here I am
using 1/4" square balsa. Starting
at the forward-most cross-member, mark a piece using a razor. The idea is to make a
cut-line, not to cut through the balsa. I pushed the razor in
farther than usual so it would stay in place for the photo. |
 |
I make cuts slightly to the outside of the
where the end of the finished piece will be. This gives me a
little margin when sanding the pieces to fit. |
 |
Pin a second cross-member to the piece you
just marked. Cut and sand them at the same time to make two
identical cross-braces. |
 |
I use a razor saw to cut outside the line I
marked with the razor. |
 |
This sanding block is weary and needs new
paper. However, there were a few spots good enough to finish the
ends of the cross members. Do not
try to make the cross-member a perfect fit on your first attempt.
You will be guessing at the angle to match it to the fuselage and you want
the piece to be a little long while getting the angle right. Once the
angle is correct, maintain it while sanding the members to the proper
length.
The idea here is to sand, fit, sand, fit,
sand, fit, etc. until it is perfect. If the piece ends up too short then
use it for the next shorter cross-member and start over.
One set of cross members for this
fuselage took me four attempts to get it right. |
 |
This is a good fit. Using
gussets would not
be a bad idea —
I would certainly use them if this were open
framework. However, the top and bottom decking will be glued to
the cross members so no additional reinforcement is necessary. |
 |
All the cross members have been fitted and are ready to
be glued in place. |
 |
Starting from the rear of the fuselage, glue
in all the bottom cross-members first. Be sure they are
perpendicular to fuselage centerline and are a good fit.
Also be sure they are flat against the
board.
When gluing end-grain wood, always use
the double-gluing technique. More information about double-gluing
is here. |
 |
When gluing in the upper cross-members I
usually eye-ball them to align them with the lower cross-members.
They should either be flush with the top of the fuselage sides or
slightly proud so that they can be sanded flush.
You do not want them too low because it will
cause the deck sheeting to bow in.
At this point the fuselage is straight.
The forward fuselage is straight due to the several formers and the
small distance between them.
The
aft fuselage is straight mainly due to
the jigs. If the fuselage was to be pulled from the board at this
point it would remain fairly straight, but to guarantee it, the rear
decking must be glued on.
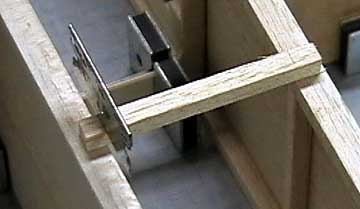
As you can see I have replaced the taller jig
pieces (see first image at top of page) with shorter ones so that I can sand the upper aft fuselage and
then add the decking. |
 |
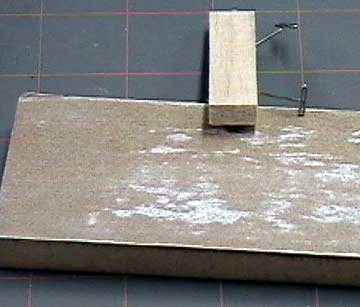
Shoulder and high-wing aircraft have
fuselage mounted landing gear. If possible, add the mounting
system while the fuselage is still jigged to the board.
Here I have cut a scrap of balsa to wedge the
triangle stock reinforcement against the fuselage sides and landing gear
plate. |

