Airfield Models - How To

How to Silk a Model Airplane Wing

December 19, 2021


Home
About
What's New
History
Models Gallery
Model Building Safety
Articles
Mail & FAQ
Site Map
Site Feedback
Contact
Add to Favorites
Comments
Search Airfield Models

Back to Silking a Wing


Airfield Models (http://www.airfieldmodels.com/)Doping Silk to a Model Aircraft Wing

The silk is now stretched taut over the wing and is ready to be permanently doped in place.  The silk should still be wet enough to stay in place.  You may have to spray water on the silk throughout this process.

Important Points

  • Do not apply dope if you aren't happy with silk.  The previous article in this series details some things to inspect before doping the silk to the wing.

  • Do not apply dope to any part of the wing except the perimeter.  Allow the silk to fully dry after it is doped in place.  Inspect the silk again.

  • Do not trim the silk until you are sure the silk is right.

    If the silk is doped only around the edges and the silk isn't trimmed you can still correct almost any mistake.  Trust me on this.


Tools and Supplies Needed

  • Flat, natural hair paint brushes.Excellent ventilation.

  • Clear Nitrate or Butyrate dope thinned to brushing consistency.  Do not use retarder.

    If you used butyrate dope to seal the wing then you must use butyrate dope to attach the silk.  If you used nitrate dope to seal the wing then you can use either nitrate or butyrate dope to attach the silk.

  • Dope thinner.

  • Flat 1/2" or 1" natural hair paint brush.

  • Acetone for clean up.

  • Paper towels.

  • Sandpaper and sanding blocks to remove excess silk.


Dope Silk to the Wing

Blushing is caused by moisture trapped in dope.Doping through wet silk will cause blushing.  Blushing is a condition that occurs when the dope turns white because it's is embarrassed that water got trapped in it while it was drying.

Blushing is a temporary condition that goes away with subsequent coats assuming the environment isn't so humid that it causes blushing even when doping dry silk.

We want the dope to dry as quickly as possible so that we can keep moving without worrying about the silk coming loose.  Retarder slows the drying rate of dope so don't use it in the dope used to attach the silk.

Begin by doping the edge of one wing tip. There are two ways that dope can be applied to attach the silk.

The most common way is to brush the dope through the silk.  The dope will partially melt the sealing coat of dope on the balsa.  When the dope dries the silk is permanently attached.

This method usually causes more blushing and the dope can be soaked into the silk farther from the edge where you don't want it.  That can be avoided by using a minimal amount of dope and brushing only the outermost portion of the edge.  The silk may need to be rubbed down with your finger.

The second method is akin to licking an envelope.  The silk is folded back and dope is applied to the wing.  The silk is then pulled back over the edge and rubbed down.  This method results in a much faster bond, minimal spread of the dope and minimal blushing.

The drawback is that you've loosened the silk you spent so much time stretching and the minimal drying time means minimal time to get it stretched again.

If you rub the silk down it is important to rub down across the edge so that it pulls the silk.  Don't rub back and forth or you may introduce wrinkles and puckers.

Work your way from one tip to the other by doping a small section of trailing edge and then the leading edge. 
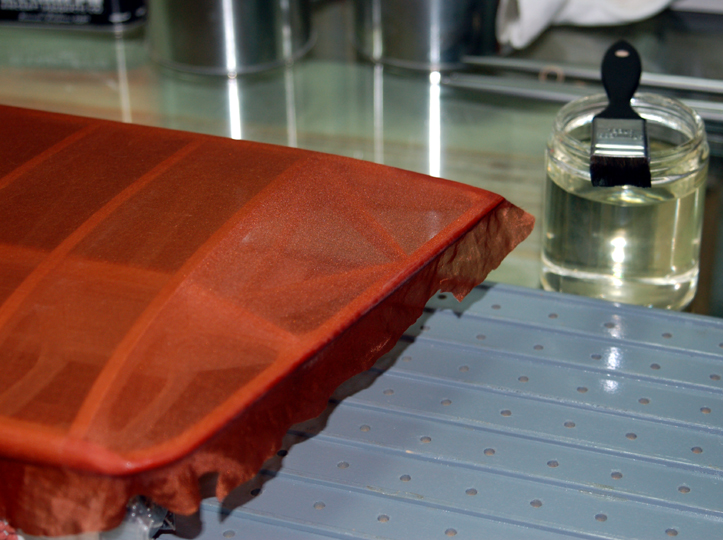
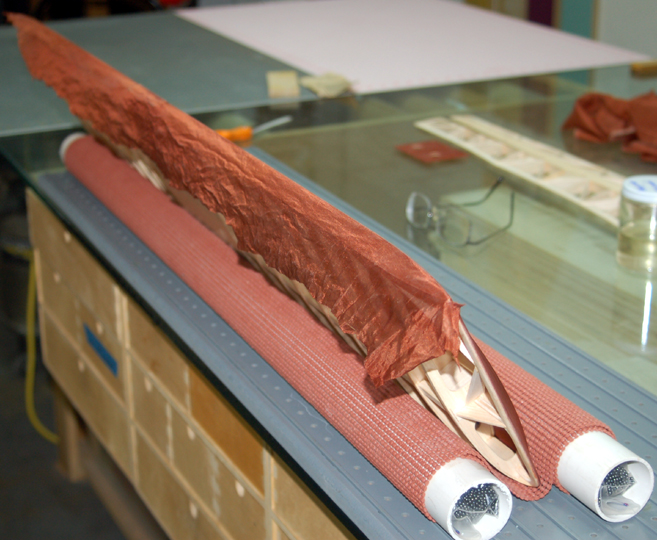
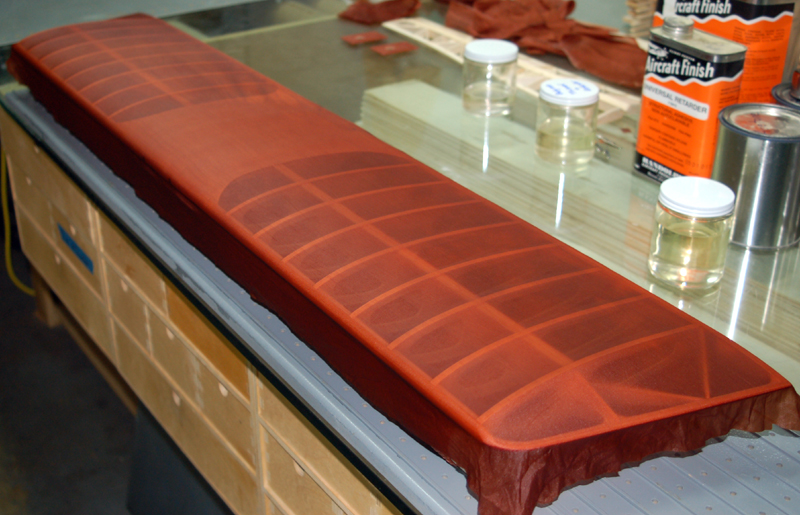
I start at one wing tip and work my way to the other tip.  I usually dope the trailing edge for a rib bay or two, then the leading edge for the same section.  I work back and forth in this manner until the entire edge is doped in place.

Don't try to do too 
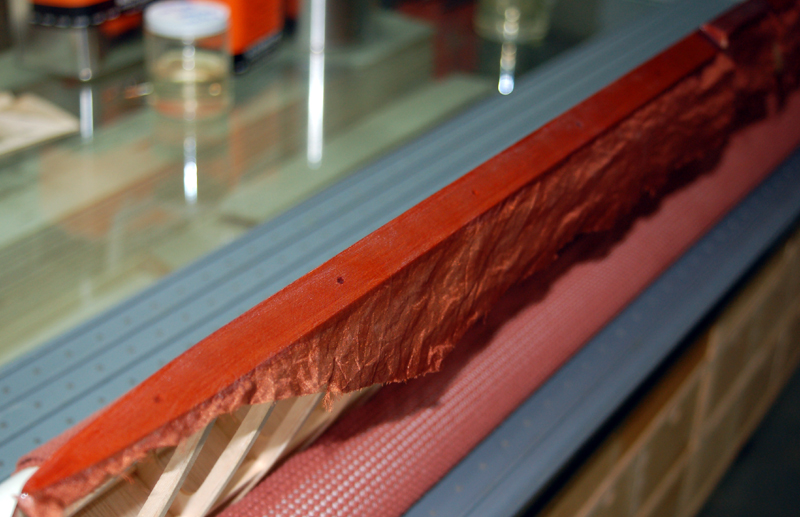
much at once.  The silk was tight before you started so if you see an area start to slacken you should be able to fix it without adding wrinkles to other parts of the wing.

Do not attempt to attach the silk to the back of the trailing edge with this first coat.

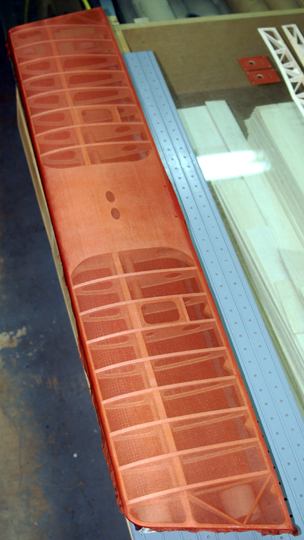
By the time you reach the end of the wing, the dope where you started should be dry.

Go back and recoat the exact same places you already coated to ensure the silk is firmly bonded.

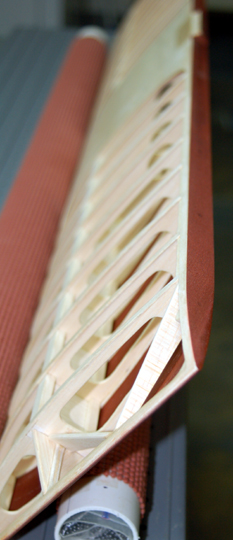
Do not apply dope to any other part of the silk such as the ribs, sheeting or around hatch compartments.

Allow the silk to fully dry and inspect it carefully.  Remember when I told you that mistakes can be corrected?  This is your last chance.

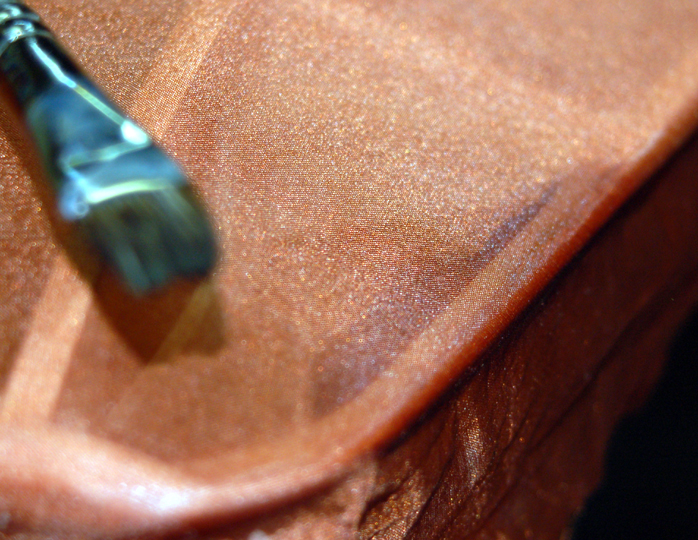
If you find any errors then determine where the silk must be lifted to correct the error.  You can either use very small quantities of dope thinner or thinned dope to loosen the covering.

Lift the covering, pull it tight and rub it back down.  Dope always melts itself so you can come back to this later if you like as long as you haven't trimmed the excess covering or doped the interior portions of the silk.

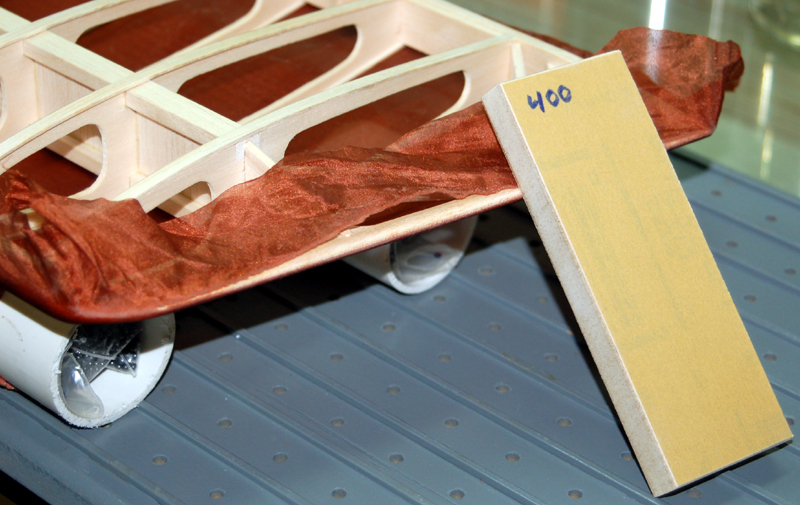
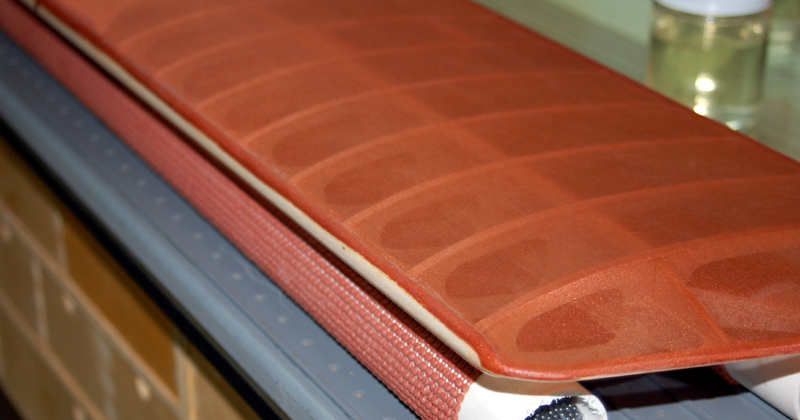
If no corrections need to be made then apply two more coats of dope around the edges.

Mistakes aren't uncommon. HOLY MOTHER BOMBYX MORI!!!!

I'VE GOT THE PUCKERS!!!!!!!!!

There is only one thing to do smash the wing in a fit of insane, hysterical rage, cut off my ear then stab myself in the heart with an airbrush needle!!

But they're easy to correct. Or actually, I could just fix it instead of risking damage to my airbrush needle.

Apply dope or dope thinner to loosen the covering, pull it taut and rub it down.

Use sandpaper to cut through the silk at the tips. Use fine sandpaper to trim off excess silk at the wing tip to make it easier to wrap the silk around the leading edge and trailing edge.  Use a scissor to snip off this piece.

Dope the silk around the leading edge to the apex.  Be sure the silk is attached and there are no air pockets.

If you do find air pockets after the dope has dried then the best way to fix them is to use fresh dope or thinner to release the silk.  Pull it taut and rub it down.

If you doped too much of the silk then your only recourse may be to pop the bubble, apply dope and rub the silk down.  Usually this method leaves an ugly spot or creates character or whatever you want to call it.

Dope the silk around the leading and trailing edges.  Watch out for air pockets. If the trailing edge has any protrusions such as when the ailerons are inset then you may have to make relief cuts.  If the trailing edge is straight from tip to tip then this shouldn't be necessary.

This wing has a fairing at the trailing edge so a couple relief cuts were necessary.

Apply two more coats of dope around all edges. The silk will be rigid where it needs to be folded due to dope that dried in the over-hanging silk.  The dope will soften when fresh dope is applied.

When doping the trailing edge be sure to pull the silk straight down in relation to the wing.  Otherwise there may be an air pocket where the silk should have a sharp corner as it folds over to the back of the trailing edge.  I usually need to rub the silk down to prevent the pocket from being created.

It's not a bad idea to divide the wing into halves and work your way out from the center of each half.

Apply one or two more good coats of dope to all the edges when you are sure no more corrections need to be made.


Trim off excess silk using fine sandpaper. Use a sanding block with fine sandpaper to remove the excess silk.
Try to sand a straight line on the leading edge. Leave plenty of silk on the leading edge and sand as straight of a line as you can.

I'd have liked a straighter line than this but I'm out of silk that can be sanded off.

This is the bottom of the wing.  The covering on the top will overlap underneath the leading edge where it will be sort of hidden.

At this point you've probably sanded through the sealing coats around the edges.  Apply a couple more coats of dope and then sand lightly.  Don't apply silk to the other side of the wing if there is any unsealed wood or rough edges.  Sand and seal until all edges are smooth and all wood is sealed.

When the wing bottom is finished, silk the top.The second piece of silk is applied just as the first.  Put it on dry, wet it, stretch it, dope the edges and trim.

The only difference is that you will probably need to trim the excess silk using a razor instead of sanding it off.  It can be sanded but you need to be really careful not to sand through the first piece of silk.


Previous —
Next —

Applying Silk to a Model Aircraft Wing
Silking Ailerons

Comments about this article


Back to Silking a Wing
Airfield Models Home


Copyright © 2009 Paul K. Johnson