 |
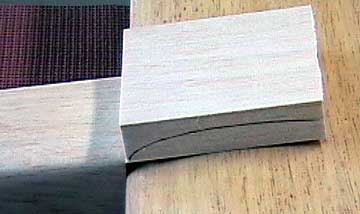
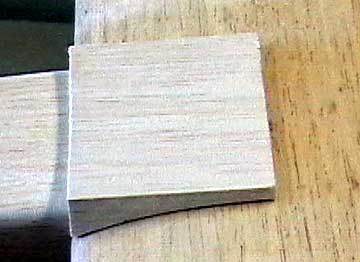
I like to begin with a lightweight balsa wood block that is bigger than necessary. The larger size makes it easier to work
with while getting it to match the wing's airfoil shape. Draw
the shape of the airfoil on the side of the block to give you a rough
idea of where you want to end up. |
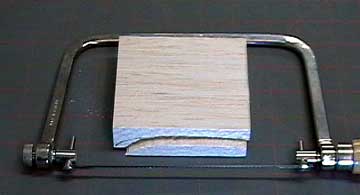 |
My coping saw skills are lame at best. However, it
is the only tool I have that will remove the bulk of the wood easily.
A belt sander that allows you to sand over the drums or a drum sander
will also work. In the worst case, a four-in-hand rasp can be
used to tear away the wood relatively quickly.
Do not put too much effort into making a perfect fit right now.
By the time we're finished it will be. |
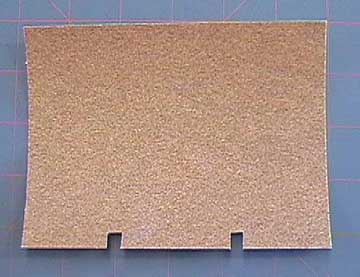 |
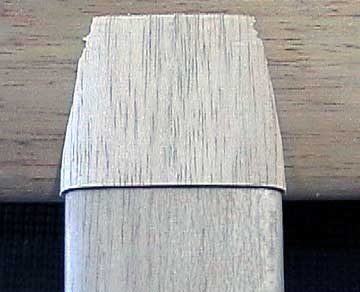
A piece of 100 grit sandpaper with notches cut to go over
the wing dowels will be used to continue shaping the inside of the
fairing. |
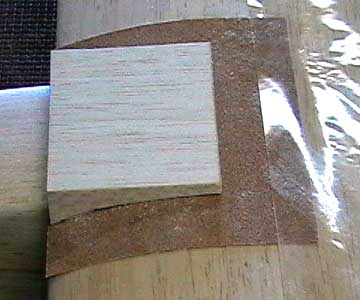 |
The tape does not stick too well, but if you vacuum the
wing first it will hold well enough. Alternatively you could put some
spray glue on the back of the sandpaper and let it set up for a few
minutes and then put the paper in place. That should keep it from
moving.
Slide the fairing back and forth over the paper until the fairing is
a perfect fit against the wing. I switched to 220 grit to finish
the inside. |
 |
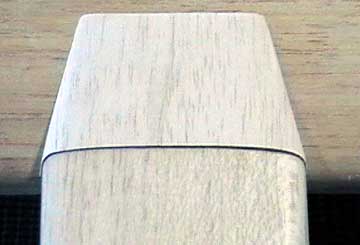
Be sure you are happy with the fairing to wing fit before
you continue. Although you can see a gap here, the fit is actually
very good, but I will need to put a little weight on the part when it is
glued on to eliminate the gap. |
 |
A carving knife and razor plane are used to remove the
bulk of the excess wood. Get as close as you feel comfortable
without removing too much wood and switch to sanding blocks. Before
I did any of this carving, I traced the shape of the front deck on the
front of the fairing so I knew where to stop. The shaping was done
with the fairing off the airplane. |
 |
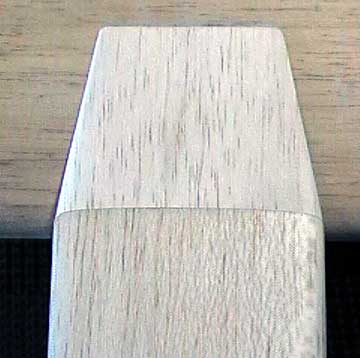
More sanding is needed. The fuselage is already
fiberglassed and the fairing will be too. Therefore, I want to
make the fairing smaller than the deck by the thickness of the glass
cloth. If anything, the fairing will look better if it is slightly
too low than it will if it is too tall as shown here. |
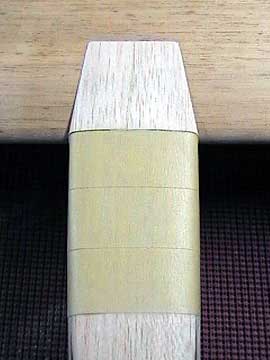 |
Some tape wrapped around the forward fuselage will
protect it while the fairing is brought closer to its finished shape on
the plane using sanding blocks. By the time this step is
complete, the fairing will still be too high. |
 |
Maintaining the shape from the previous step, the fairing
is sanded with a block off the aircraft until it is the finished size.
Check your work frequently to ensure that you are sanding where needed. |

