Clamps
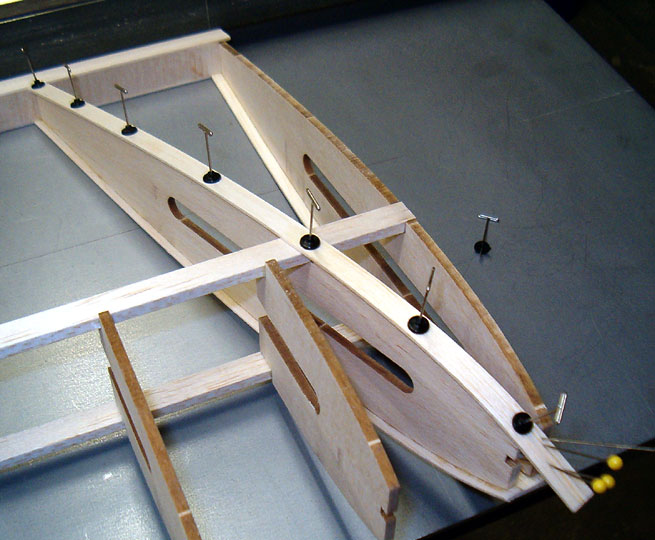
For wood models there is nothing simpler or more basic than pins.
There are a variety of types but the kind most modelers prefer are T-pins.
These come in a few sizes. Usually the pins are put directly through
the piece of wood being held in place. In some cases they may be criss-crossed
over pieces rather than through them.
 In addition to pins I use a product
made by Rocket City called Pin Clamps. These are small plastic disks that
fit tightly onto a pin and are used to spread out the clamping pressure. I
really like them. In addition to pins I use a product
made by Rocket City called Pin Clamps. These are small plastic disks that
fit tightly onto a pin and are used to spread out the clamping pressure. I
really like them.
For smaller models, such as rubber powered airplanes, dress makers pins
are more appropriate because they have a smaller diameter.
Pins do not stay sharp forever. It is a good idea to buy new
ones every so often. I can not say how often because it depends on how many
kits you build, but they are inexpensive enough that you can dump your entire
supply and buy new ones when needed.
Another basic clamping item is common masking tape. I use cheap tape
for general purposes and reserve my higher quality tape for actually masking
when it comes time to paint. This is one of the few expendable items I use
a lot of.
|
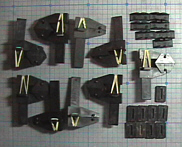 |
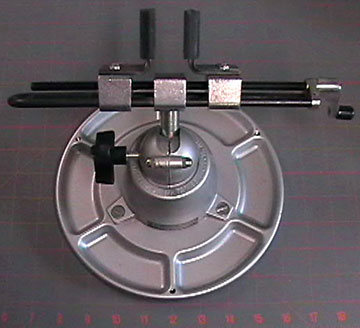
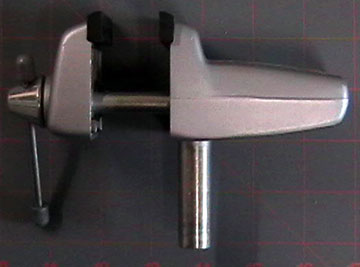
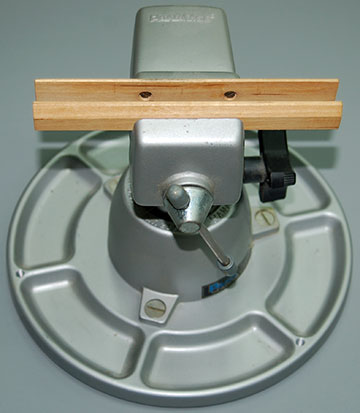
My favorite
commercial clamps are made by Hayes. They use rubber bands to apply tension and come in two sizes. The photo
shows the smaller size. They have snap-in jaws that can rotate to clamp surfaces that are not parallel. |
|
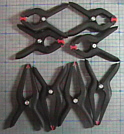 |
I really like
the Craftsman spring clamps. I have seen similar
clamps under different brands and wouldn't be surprised if they are all made by
the same company. There is snub-nose version and a needle-nose
version that allows them to get into hard to reach areas.
All of these clamps have soft rubber pads on the jaws but the
needle-nose clamps
have a small surface area and apply a fair amount of pressure. It is a good idea to use a scrap piece of plywood between the jaw and the
work if you are clamping balsa. Otherwise the clamp will dent the wood.
Actually, clamp blocks are almost always a good idea.
|
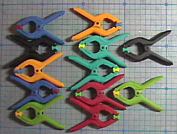 |
I came across a bin of inexpensive miniature spring clamps in a store in
Germany. I
think they were about ten cents a piece so I grabbed a handful of them.
They are great for holding the trailing edge of wings together on
plastic models
and other small clamping chores. |
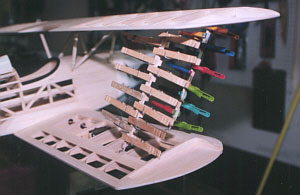
Next on my list of favorites are common spring clothes pins. Keep a bag
of these around your shop. You will find a lot of uses for them. You
can also take them apart and reassemble them with the inside faces on the
outside. You will have to trim some off the nose and you now have clamps
that work great for trailing edges.
There is something I like
even better for holding trailing edge sheeting in place — my heavy 36"
stainless-steel straightedge.
I use it to weight down the trailing
edge sheeting and use a few pins just to the rear of the trailing edge to keep
it from sliding off. If you look through the various
How-To articles, you will notice
that I am very fond of using weight to provide clamping pressure.
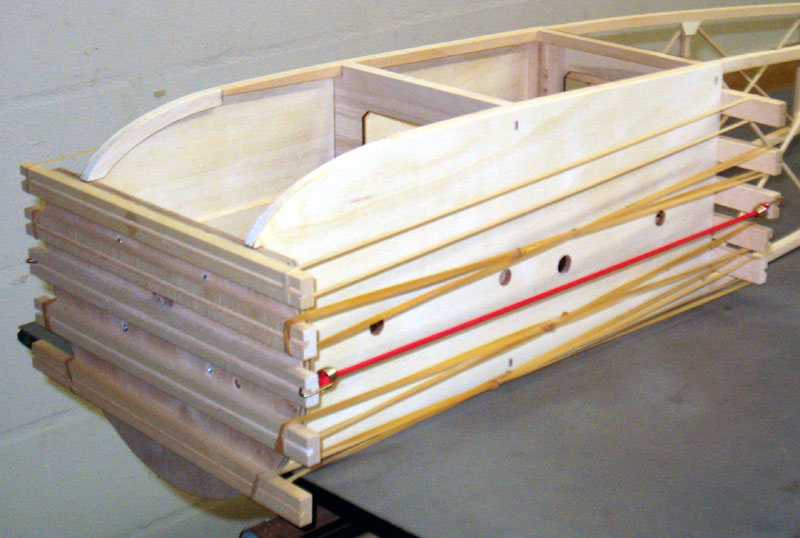
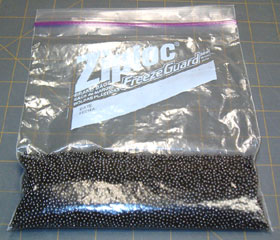
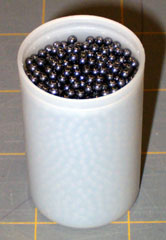
 Rubber bands also make excellent clamps. Keep a variety of sizes
around the shop and store them in a sealed, light tight container with talcum
powder or kitty litter. I have some that I have had in a jar with talcum
powder from 15 years ago that are still in good condition. I wouldn't use
them to hold a wing on but they've held up pretty well. Rubber bands also make excellent clamps. Keep a variety of sizes
around the shop and store them in a sealed, light tight container with talcum
powder or kitty litter. I have some that I have had in a jar with talcum
powder from 15 years ago that are still in good condition. I wouldn't use
them to hold a wing on but they've held up pretty well.
Avoid multi-color rubber bands because they tend to decompose after a year
or so. Gum rubber is the best type followed by latex. Both types will decompose if
exposed to light — hence the light tight container.
Another great clamp is the Ace Bandage.
A hobby shop owner suggested I use them to hold on turtleback sheeting and I have
found uses for them ever since.
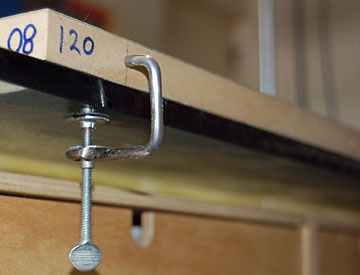
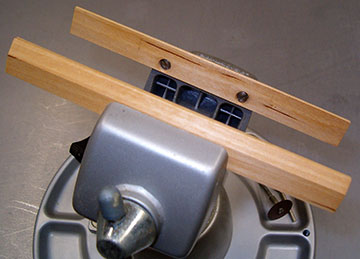
I have a few small metal C-clamps but I
do not use them very often. They are too heavy for use with balsa aircraft. They are useful and worth having
however. I mainly use mine for clamping things to my workbench or
stationary power
tools.
Did I mention that it is almost impossible to
have too many clamps? |
|