 |
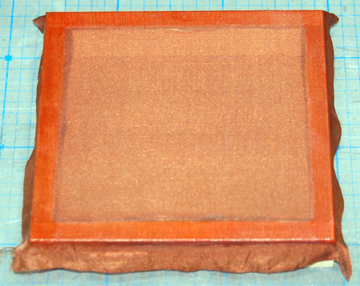
Silk is very easy to apply to solid areas. Often
there are tiny wrinkles that are easily stretched out. In many cases
a dark line remains where the wrinkle used to be. I wanted to
avoid that problem on the wing
servo hatches so I decide to apply the silk in a different manner.
Wet silk was applied to the frame, stretched and doped around the
perimeter.
This is the same frame I use to test various finishes. Most
coverings peel off easily. The frame is sanded and it's put away
until next time. |
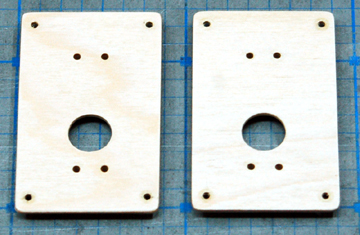 |
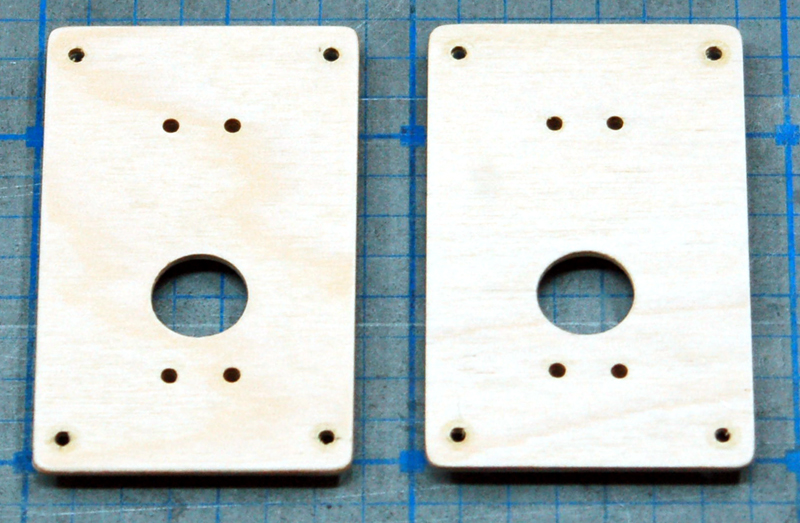
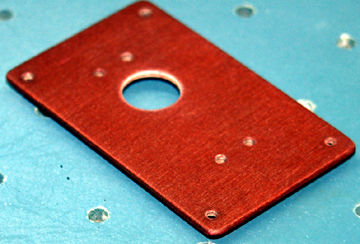
The
servo hatches were finished
sanded and sealed with several coats of dope on both sides.
All holes were well sealed because exhaust oil has a bad habit of
creeping everywhere. I really don't like
fuel-soaked model aircraft.
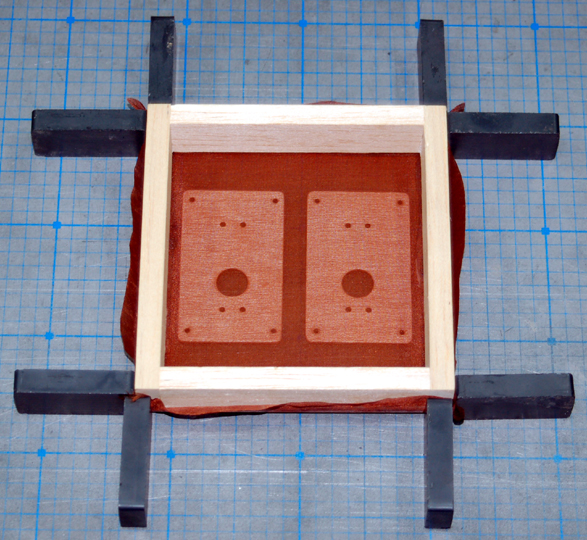
A couple pieces of light-duty
double-sided tape hold the hatches in place. |
 |
The frame is aligned over the hatches and held in
position using
magnets. |
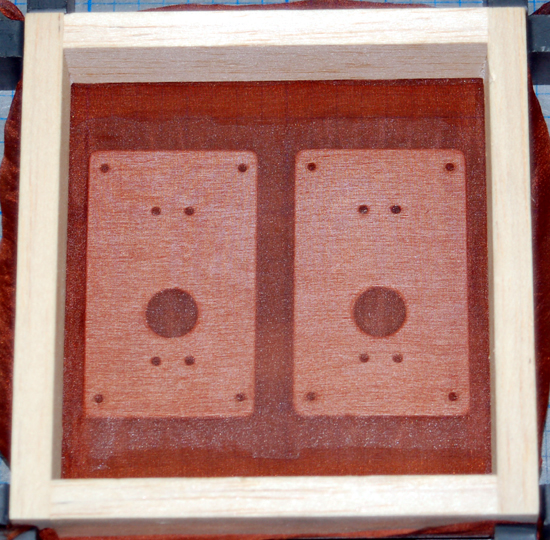
 |
Brush on two coats of dope. Allow to dry
thoroughly. I used a sharp
razor to cut the silk around the inside perimeter of the frame while
everything was still clamped to the board. |
 |
Use a
straightedge and a razor blade to trim the excess silk. Leave
enough to wrap around each edge. |
 |
Wrap the silk around the hatch one edge at a time.
Apply dope to the exposed edge of the hatch and to the inside of the
silk to soften the dope already in the silk. Wrap the silk
around and rub it down with your finger. |
 |
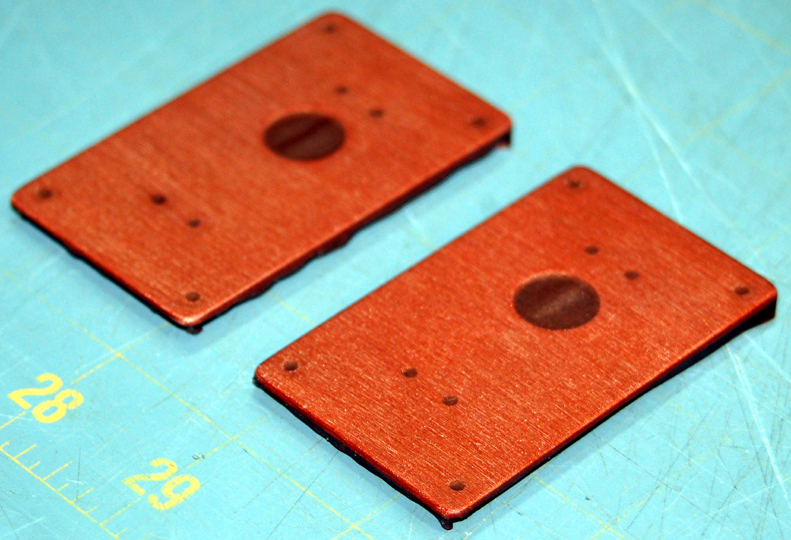
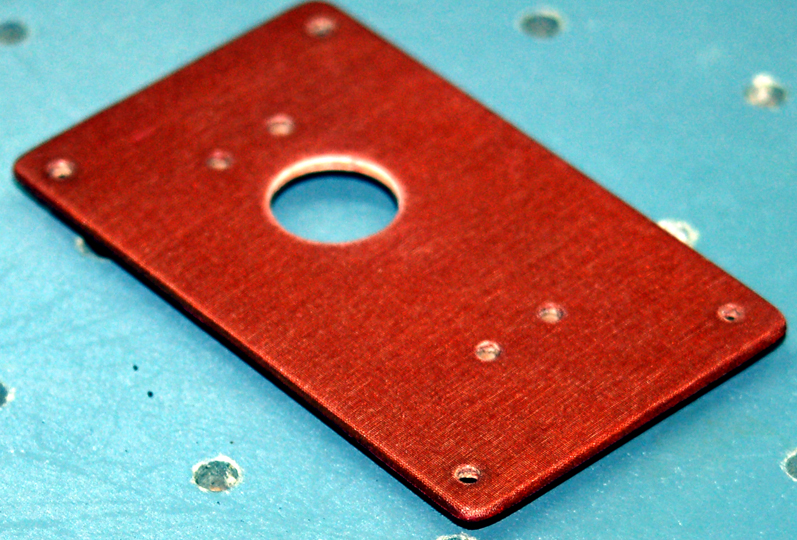
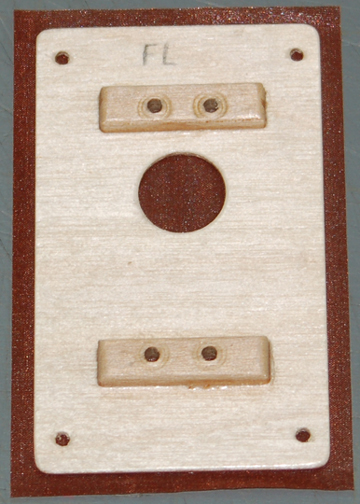
Excess silk was sanded away. I used a conical
sander in a
Dremel to open the holes to give them the neatest possible
appearance. The hatch is now ready for finish coats or sanding
sealer to fill the weave if opaque colors will be used. |
 |
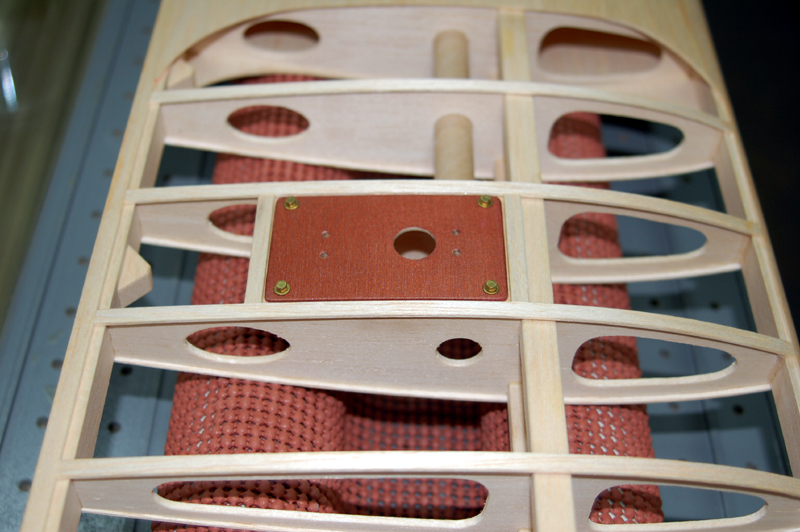
The silked hatch in the unfinished wing. |