 |
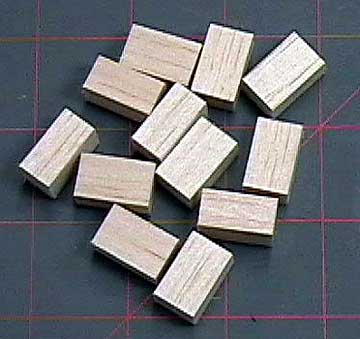
This is where I goofed. These balsa blocks
are about 3/4" square and will be the wing bolt support blocks.
I
should have glued these in place before leaving the wing for the night
because I have to wait for them to dry before I can sand the trailing
edge to receive sheeting. Like I said, it is not a big deal.
Here they
are being test fit. They should fill the entire area (top to
bottom) to provide the best support for the nylon wing bolts. |
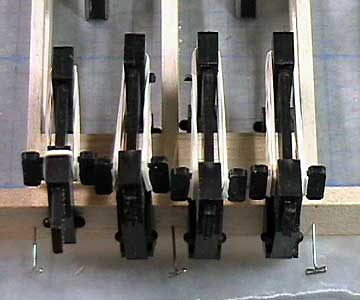 |
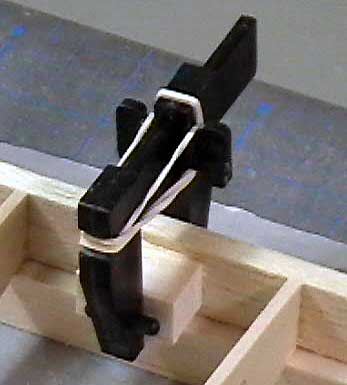
The wing bolt support blocks glued and
clamped in place. This step took 5
minutes
Elapsed time 55 minutes |
 |
The sub-leading edge must be faired into
the
ribs
before sheeting the wing. This applies to wings that have leading
edge sheeting (D-Tube) as well. The only tool necessary is a sanding block.
I use
a razor plane to bring the sub-leading edge roughly to shape. However, it is easy to
gouge the ribs if you are not careful.
Proceed slowly and
especially watch the angle of the plane. The sole of the plane
should be a tangent to the forward most part of the rib. |
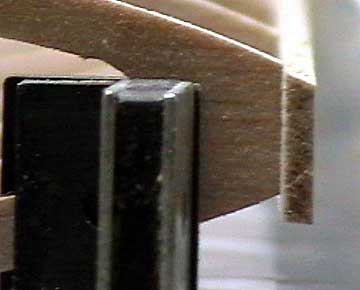 |
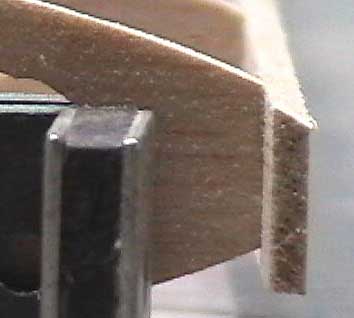
It is difficult to see here, but the
sub-leading edge is still slightly higher than the ribs. Man I wish
I had a decent digital camera. This
is where I stopped planing the sub-leading edge in preparation for final
sanding. |
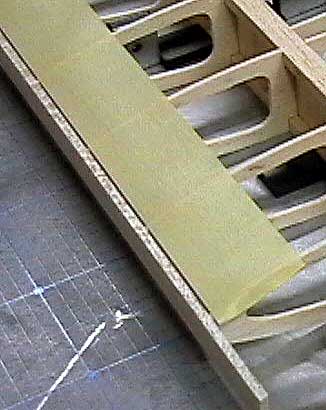 |
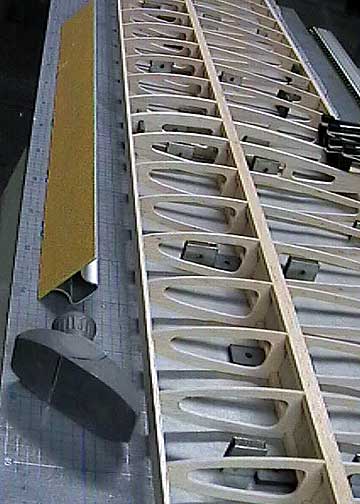
I use masking tape to protect the ribs while
sanding the sub-leading edge. The tape will prevent the part from
completely fairing in to ribs. When the sanding
block starts cutting through the tape at the forward portion of the rib,
I remove the tape and carefully finish sand. |
 |
The ribs are not well supported side to
side. Anyone who has attempted to sand back and forth spanwise has
experienced the sanding block "chattering" which is not a good thing.
Instead of sanding spanwise, sand from back to front, but do not go back and
forth. Lift the sanding block, place it back on the masking tape
covered ribs and pull the block forward over the sub-leading edge while following the contour of the rib.
If you start cutting through the tape
then replace it unless the tape is being cut through directly behind the
sub-leading edge. In that case, remove the tape and finish sanding
while
being careful not to remove material from the ribs. |
 |
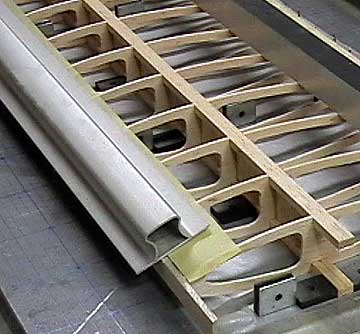
Here is the sub-leading edge after finish sanding. This
step took 17 minutes
Elapsed time 1 hour 12 minutes |
 |
At this point I decided the wing bolt support blocks had
dried long enough. Titebond grabs in about 20 minutes. If this were
wing sheeting,
spars or something that could cause the wing to
warp then I would have
left it to dry thoroughly before proceeding. I planed down the
trailing edge and the blocks at the same time and then sanded in
the same manner as the sub-leading edge.
Again, masking tape protects the ribs.
This step took 14 minutes
Elapsed time 1 hour 26 minutes |
 |
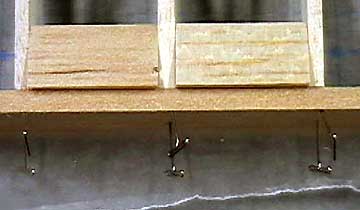
The trailing edge is only 1/4" deep.
There is not a lot of material there to hold the
hinges
securely.
Lightweight blocks are glued in front of the trailing
edge to give additional support to the hinges.
Determine the size of the block by
measuring the hinge and subtracting the thickness of the trailing edge.
Add a little bit onto that so the hinge is fully enclosed in wood. |
 |
I eye-balled the hinge support
blocks locations. Their placement is not critical as long as they are
mostly centered top to bottom.
This wing has separate
flaps and
ailerons. I will be using three hinges in each (twelve hinges
total).
This step took 9 minutes
Elapsed time 1 hour 35 minutes |
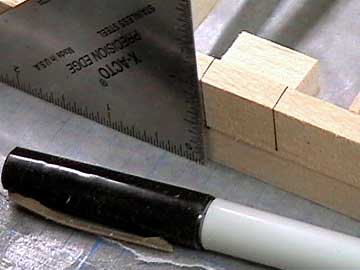 |
Draw reference lines to represent the hinge block
locations. The hinge slots or holes, depending on the type of
hinges used, are not cut until after the wing is sheeted and the blocks
are no longer visible.
I will be using Robart Hinge Points.
I used to rely on my memory for things like this. It didn't take long
for me to discover that my memory
isn't all that great.
Now I take notes or mark things so I can
remember what I did.
I did not time this step. Let's say
two minutes just for fun.
 |

