 |
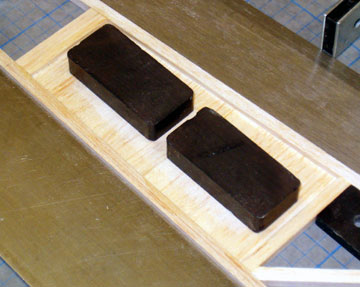
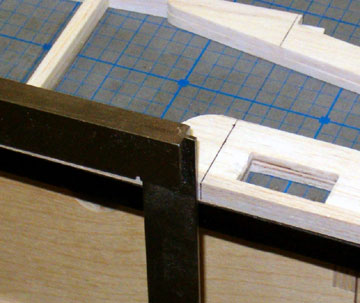
The aft end of the fuselage is usually filled with
balsa
wood rather than diagonal pieces. The fill reinforces the tail
and it allows you to cut pushrod exits. If you didn't
have sheet wood surrounding the exits, you would have to cut holes in
unsupported covering. The covering would eventually begin to tear
away. You can use
thinner wood here if you arrange the grain vertically to act
as a
web. A lot of planes turn out tail heavy. Do
everything you can to make the tail strong while using as little
material as possible.
|
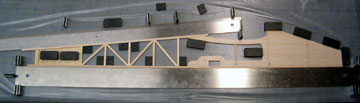 |
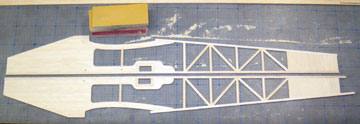
Most of the hard work is done. When this assembly
is dry, remove it from the board and build the other side. It is best if you can build the
second side directly over the first. Put a piece of wax paper
between the two sides and line the parts of the second side up
carefully.
You can pin directly through both sides into your building surface or
set up straightedges that are higher so that they enclose the outlines
of both sides.
Be sure to place the outsides of the fuselage sides together!
If you put an inside against an outside you will build two left or
two right sides which will not make you happy when you realize you have
to throw a lot of work away and build a new side.
|
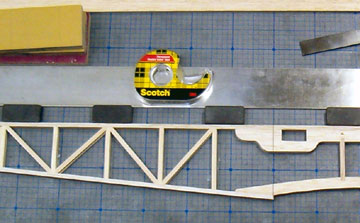 |
Block sand the inside of the fuselage sides now.
Keep sanding until all joints are flush. Go ahead and finish sand
because this is your last opportunity to do it.
This step is very important!
Remove the sanding dust and then apply strategically
placed double-stick tape to one fuselage side.
Carefully align the other side directly over the first. Check
to ensure the sides are aligned as well as they can be
— particularly
the wing saddles, firewall and tail. Pull the fuselage sides apart and stick
them back together until they're right.
Using a long sanding block, sand the sides to an exact match to
include the wing saddles if needed.
Check your work carefully because this step will save you from all
kinds of alignment problems later. |
 |
Take
measurements from the plans and use landmarks in the construction to
draw the locations of all the formers and other items inside one
fuselage side while the sides are still taped together. Use a good
square to transfer the lines to the
outside edge. Use these lines to locate and draw former locations
inside the other fuselage side.
If the firewall has right thrust be sure to locate the lines
properly on each fuselage side because they will be in different
locations. |
 |
Separate the two sides and then block sand the outside to
remove excess glue and to bring everything flush. The outsides
can be rough sanded because they will need additional sanding as you
progress with building the fuselage. |
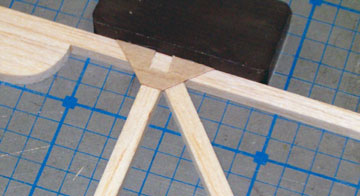 |
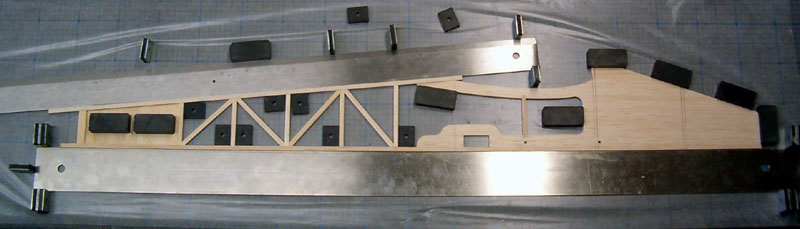
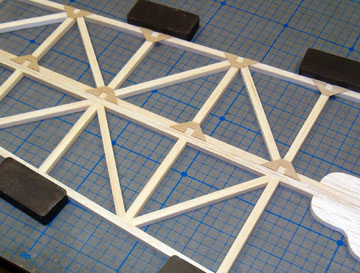
Many designs and kits leave out gussets.
However, I strongly urge you to use them. They weigh practically
nothing but greatly increase the strength of the brace joints.
If you choose not to use gussets then the only thing preventing the
braces from popping loose in a hard jolt is tension from the covering.
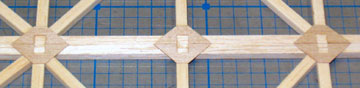
Note that gussets are glued to the inside of the fuselage sides.
The notch will capture the cross-braces.
I make gussets from 1/64" plywood which can be easily cut with
scissors.
Be sure to clean glue ooze from around the gusset and especially from inside
the notch where the cross-braces go. Blobs of glue will interfere
with the fit of cross-braces installed later.
|
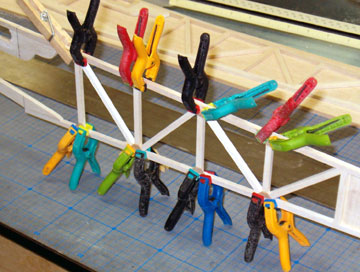 |
Clamp the gussets while the glue dries to ensure the
strongest possible glue joint. |
 |
When the glue has dried place both sides on the board as
a mirror image. Take care aligning them. I put a stop at the
front and the tail post to keep the sides from moving. |
 |
Glue the gussets on the second side aligning them with
the gussets on the first side. This will ensure that the
cross-braces are exactly perpendicular to the fuselage centerline in top
view. |
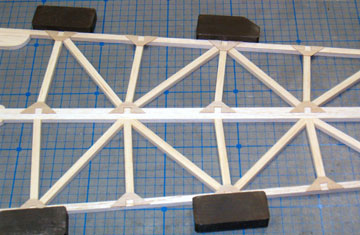 |
Flip the sides around and repeat the above steps.
Do not leave the sides together while the glue dries. The sides
will end up glued together by the glue that oozed out. Don't
forget to clamp the gussets while they dry. |